Transferir como PDF, PPTX
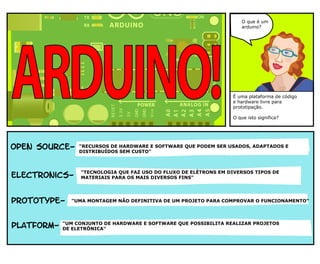


O Arduino é uma plataforma de hardware e software livre para prototipação eletrônica. Ele pode medir condições do ambiente e controlar objetos em resposta a essas condições, através de sensores e atuadores conectados. O Arduino funciona como um pequeno computador programável para realizar tarefas simples de entrada e saída.