O documento fornece exemplos de códigos JavaScript para criar diversos elementos interativos em páginas web, como ciclo de banners, janelas rolantes, painéis de menus, interligação de campos de formulários, calendário de eventos, duplo clique, menus suspensos e outros. O foco é ensinar técnicas básicas e avançadas de JavaScript por meio de exemplos práticos passo a passo.

![01 – CICLO DE BANNERS
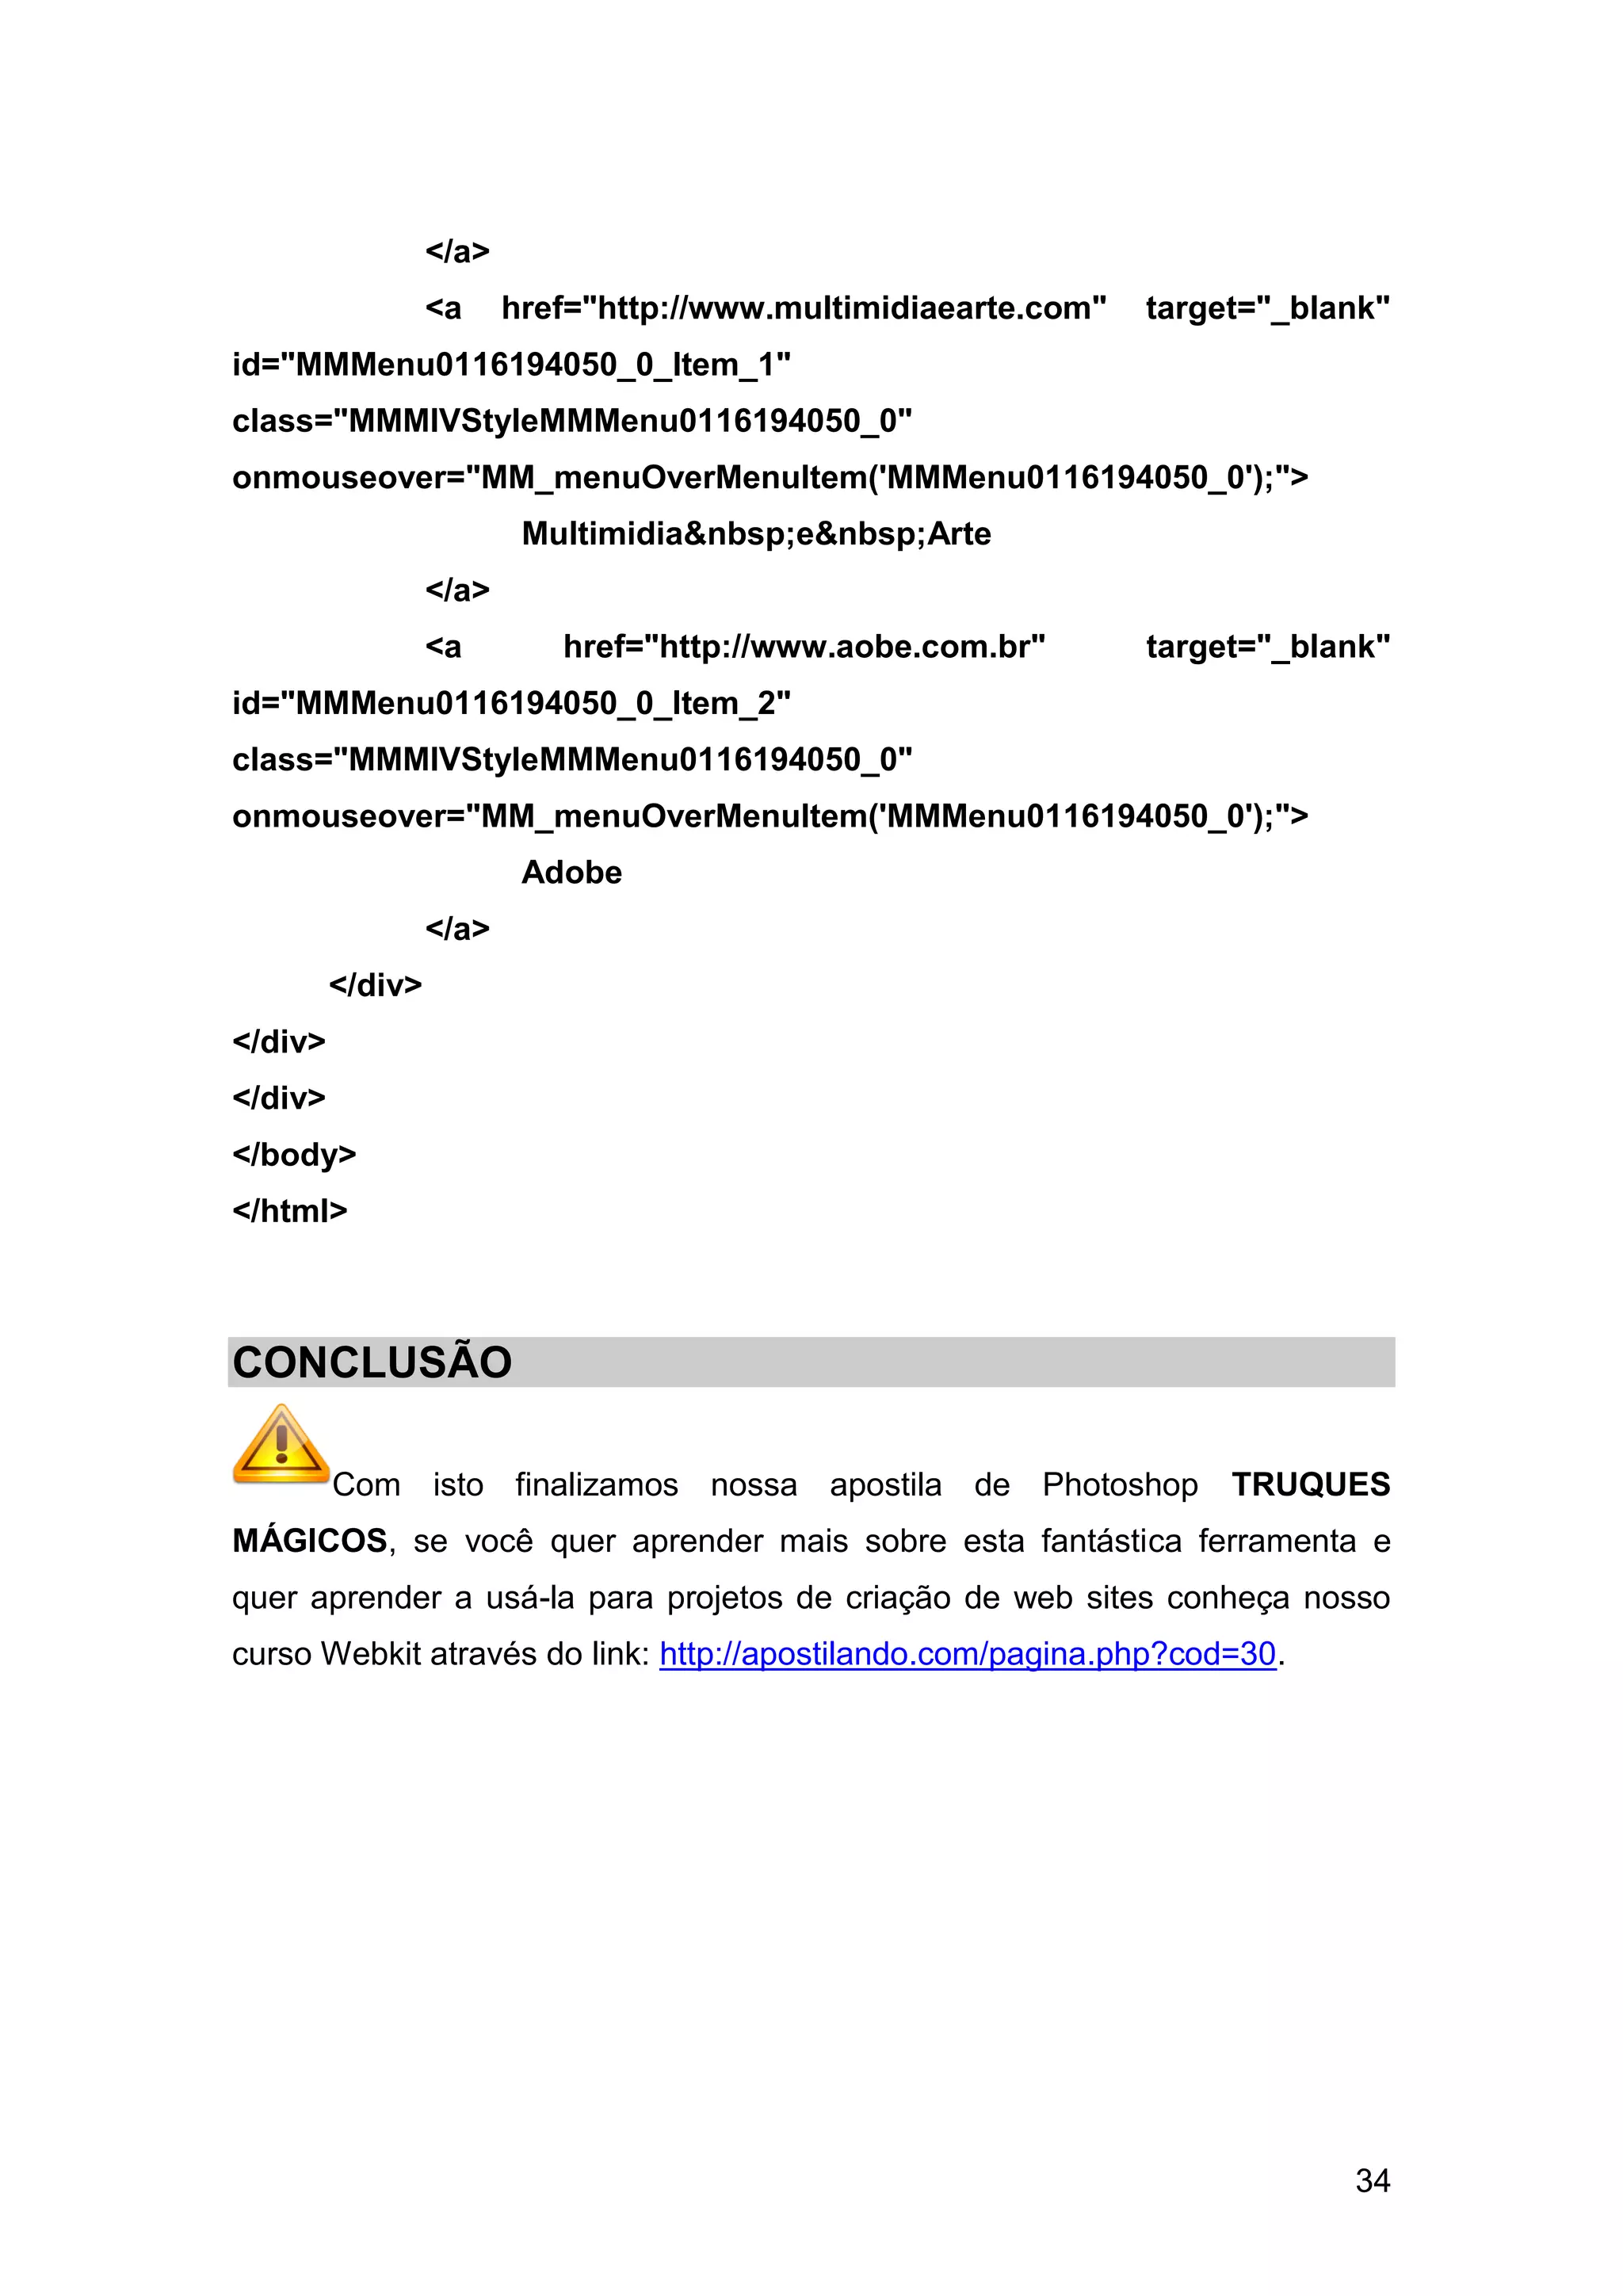
Quando se navega na WEB, é comum ver banners de publicidade que
alternam periodicamente entre imagens. Com JavaScript podemos criar um
ciclo de banners.
Observe o código.
<!DOCTYPE html PUBLIC "-//W3C//DTD XHTML 1.0 Transitional//EN"
"http://www.w3.org/TR/xhtml1/DTD/xhtml1-transitional.dtd">
<html xmlns="http://www.w3.org/1999/xhtml">
<head>
<meta http-equiv="Content-Type" content="text/html; charset=utf-8" />
<title>Ciclo de Banners</title>
<script language="javascript" type="text/javascript">
//definindo as imagens para os banners
adImages = new Array
("imagens/banner01.gif","imagens/banner02.gif","imagens/banner03.gif")
//definindo os endereços dos links
adURL = new Array
("apostilando.com","multimidiaearte.com","adobe.com.br")
thisAd = 0
imgCt = adImages.length
function rotate(){
if (document.images){
thisAd++
if (thisAd == imgCt){
thisAd = 0
}
document.adBanner.src=adImages[thisAd]
setTimeout("rotate()",3*1000)
}
}
4](https://image.slidesharecdn.com/javascripttruquesmagicos-120608160438-phpapp02/75/Javascript-truquesmagicos-4-2048.jpg)
![function newLocation(){
document.location.href = "http://www."+adURL[thisAd]
}
</script>
</head>
<body onload="rotate()">
<div align="center">
<a href="javascript:newLocation()">
<img src="imagens/banner01.gif" width="400" height="150"
name="adBanner" alt="Ad Banner" /></a>s
</div>
</body>
</html>
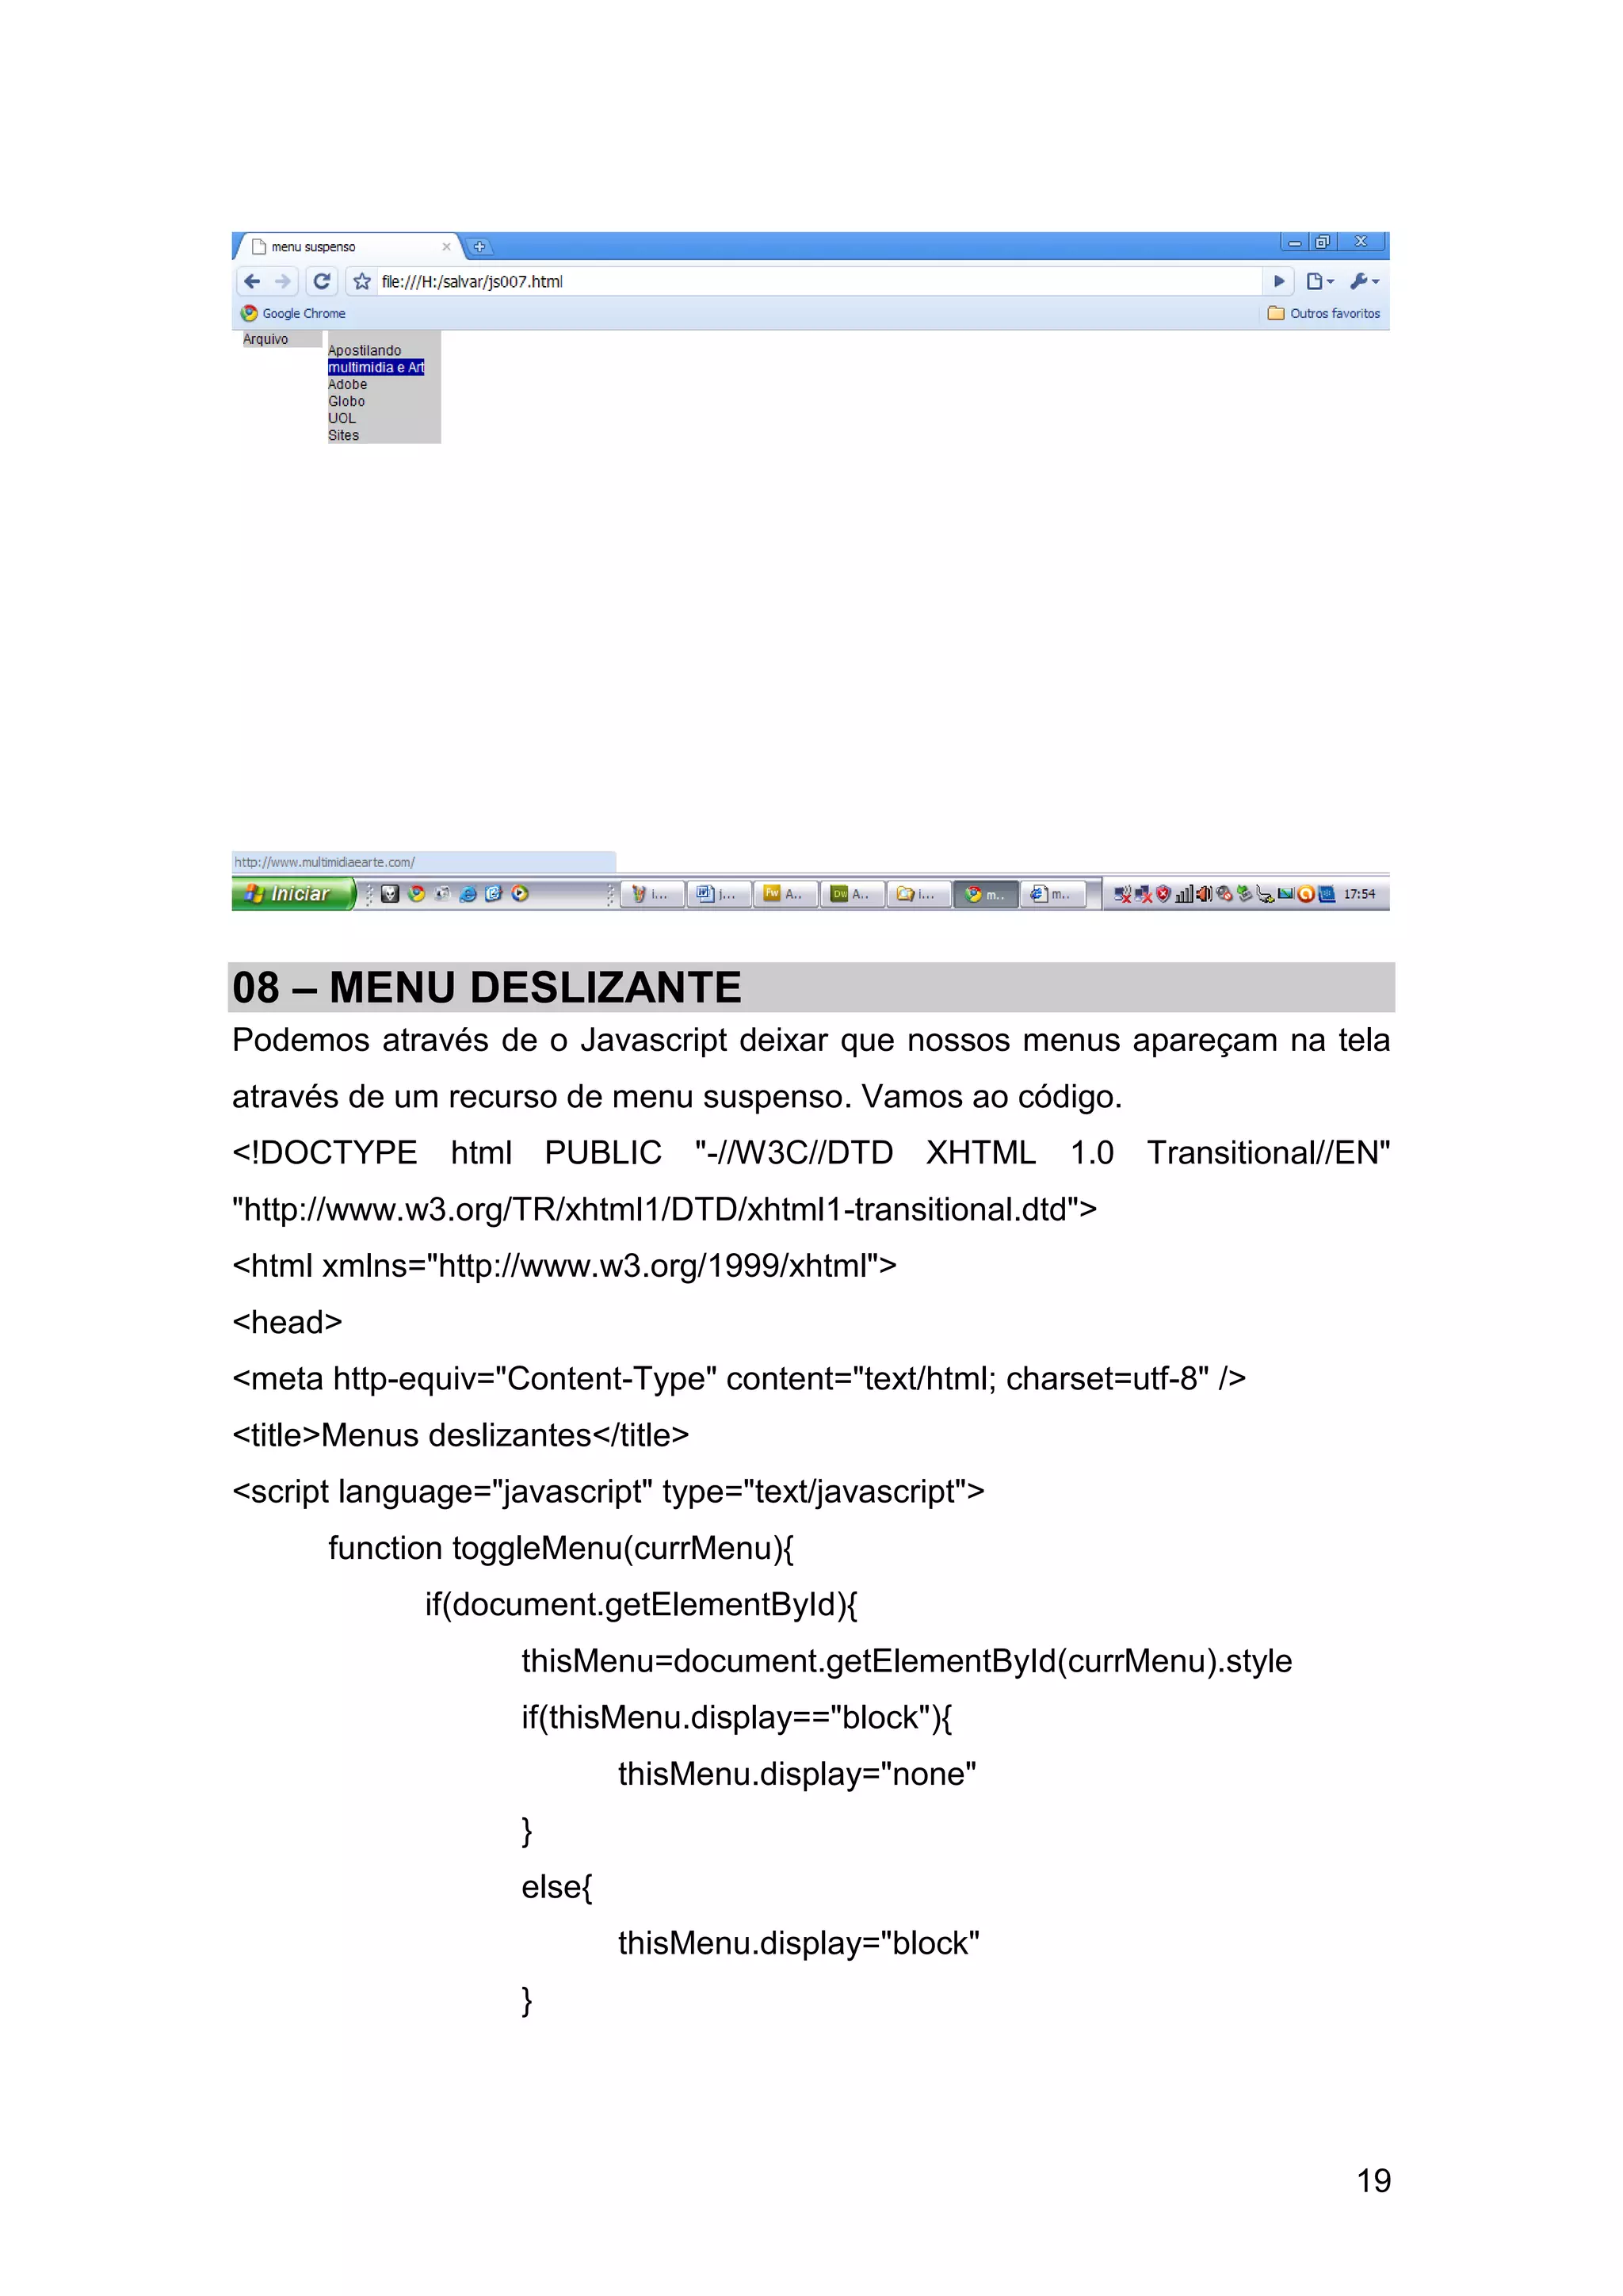
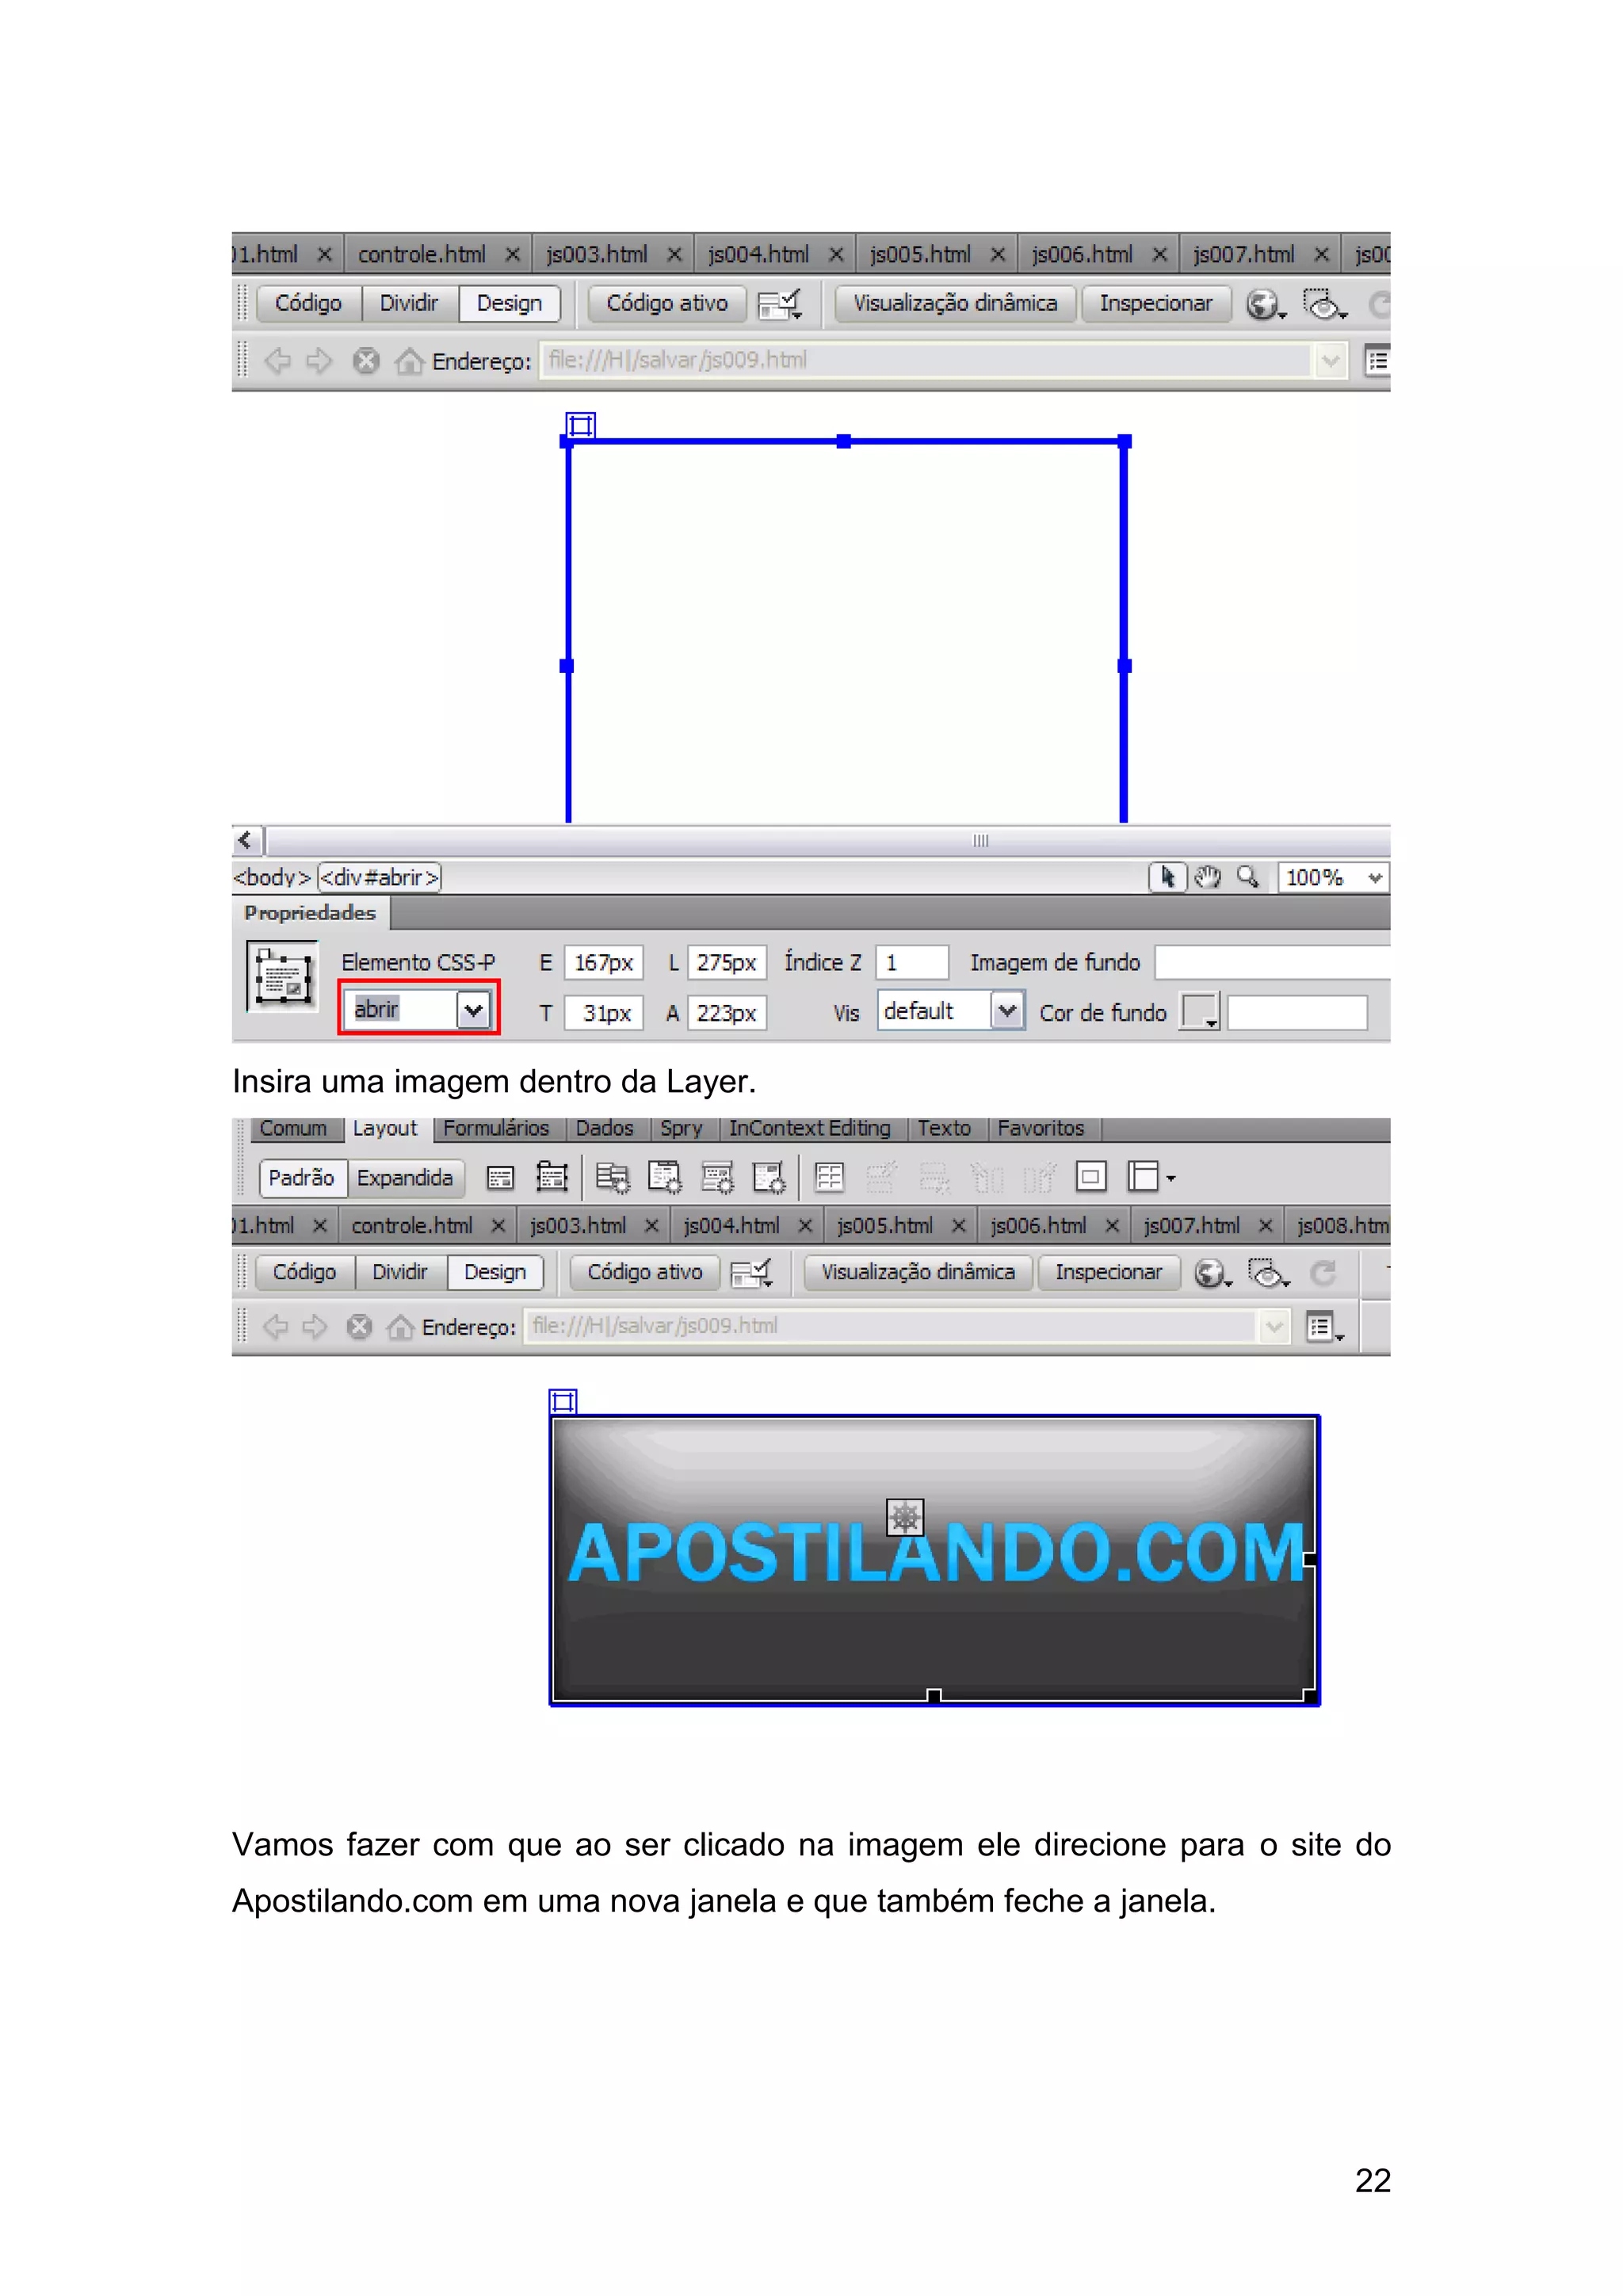
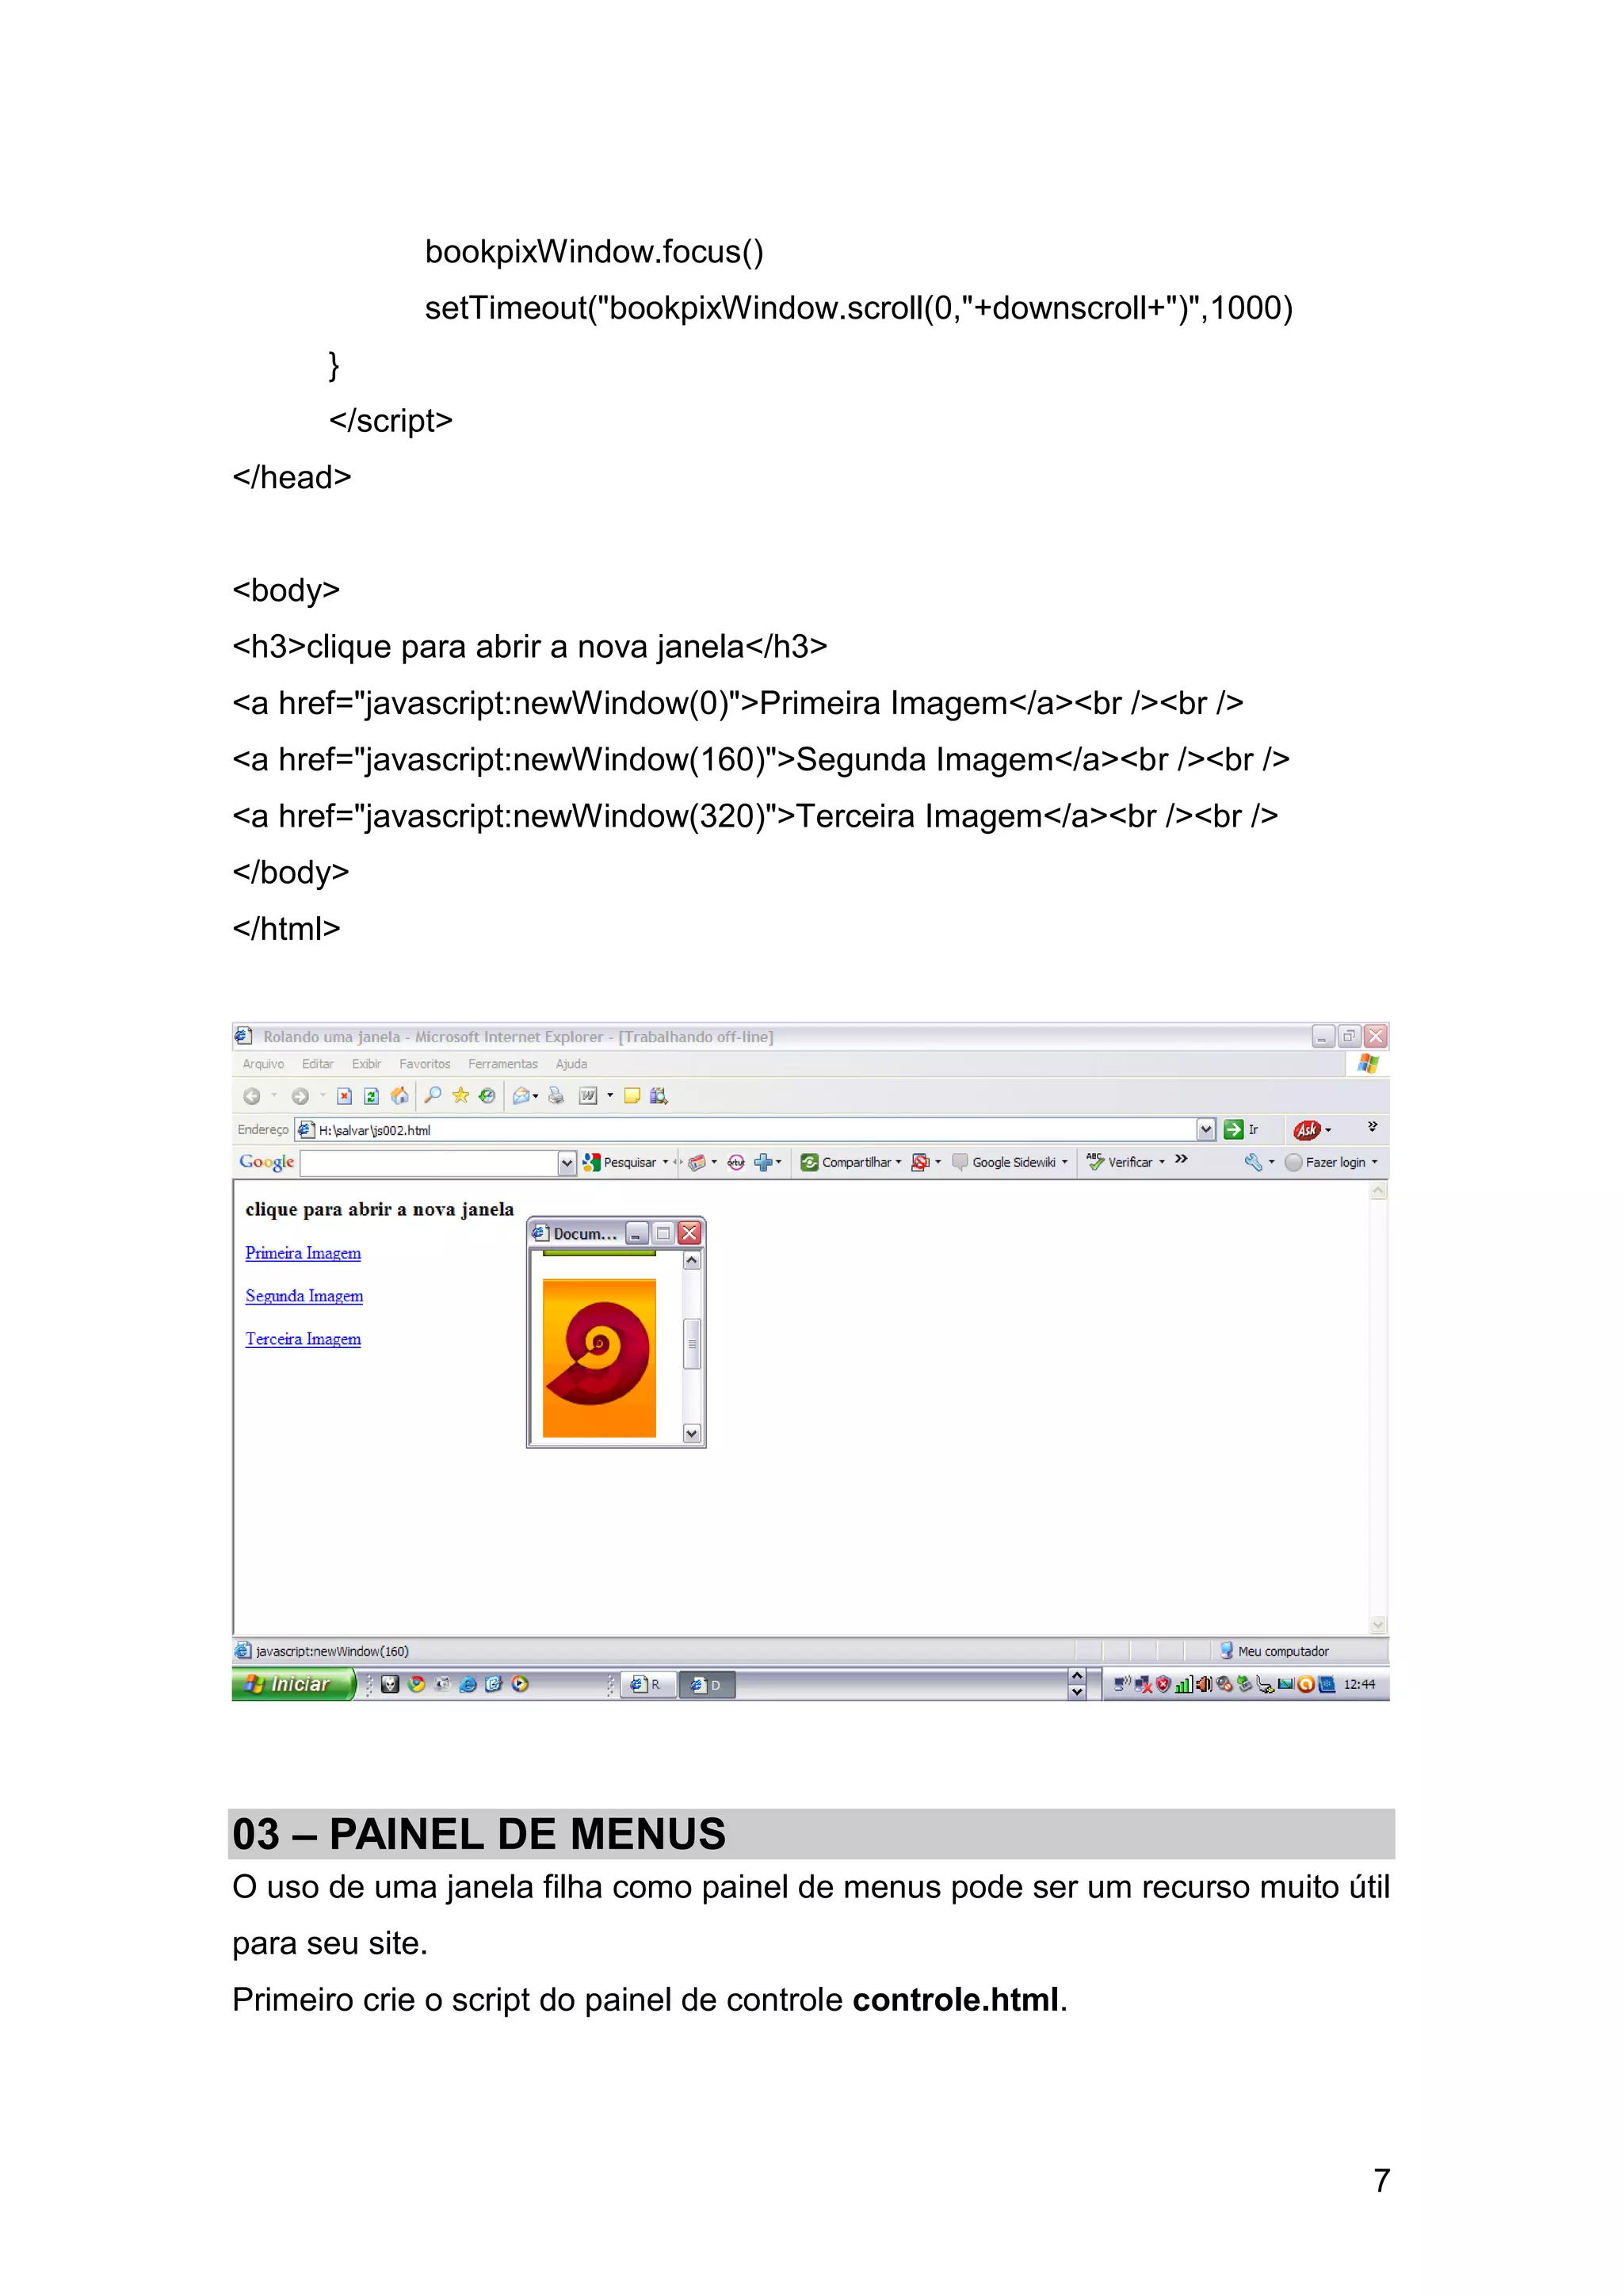
02 – ROLANDO UMAJANELA
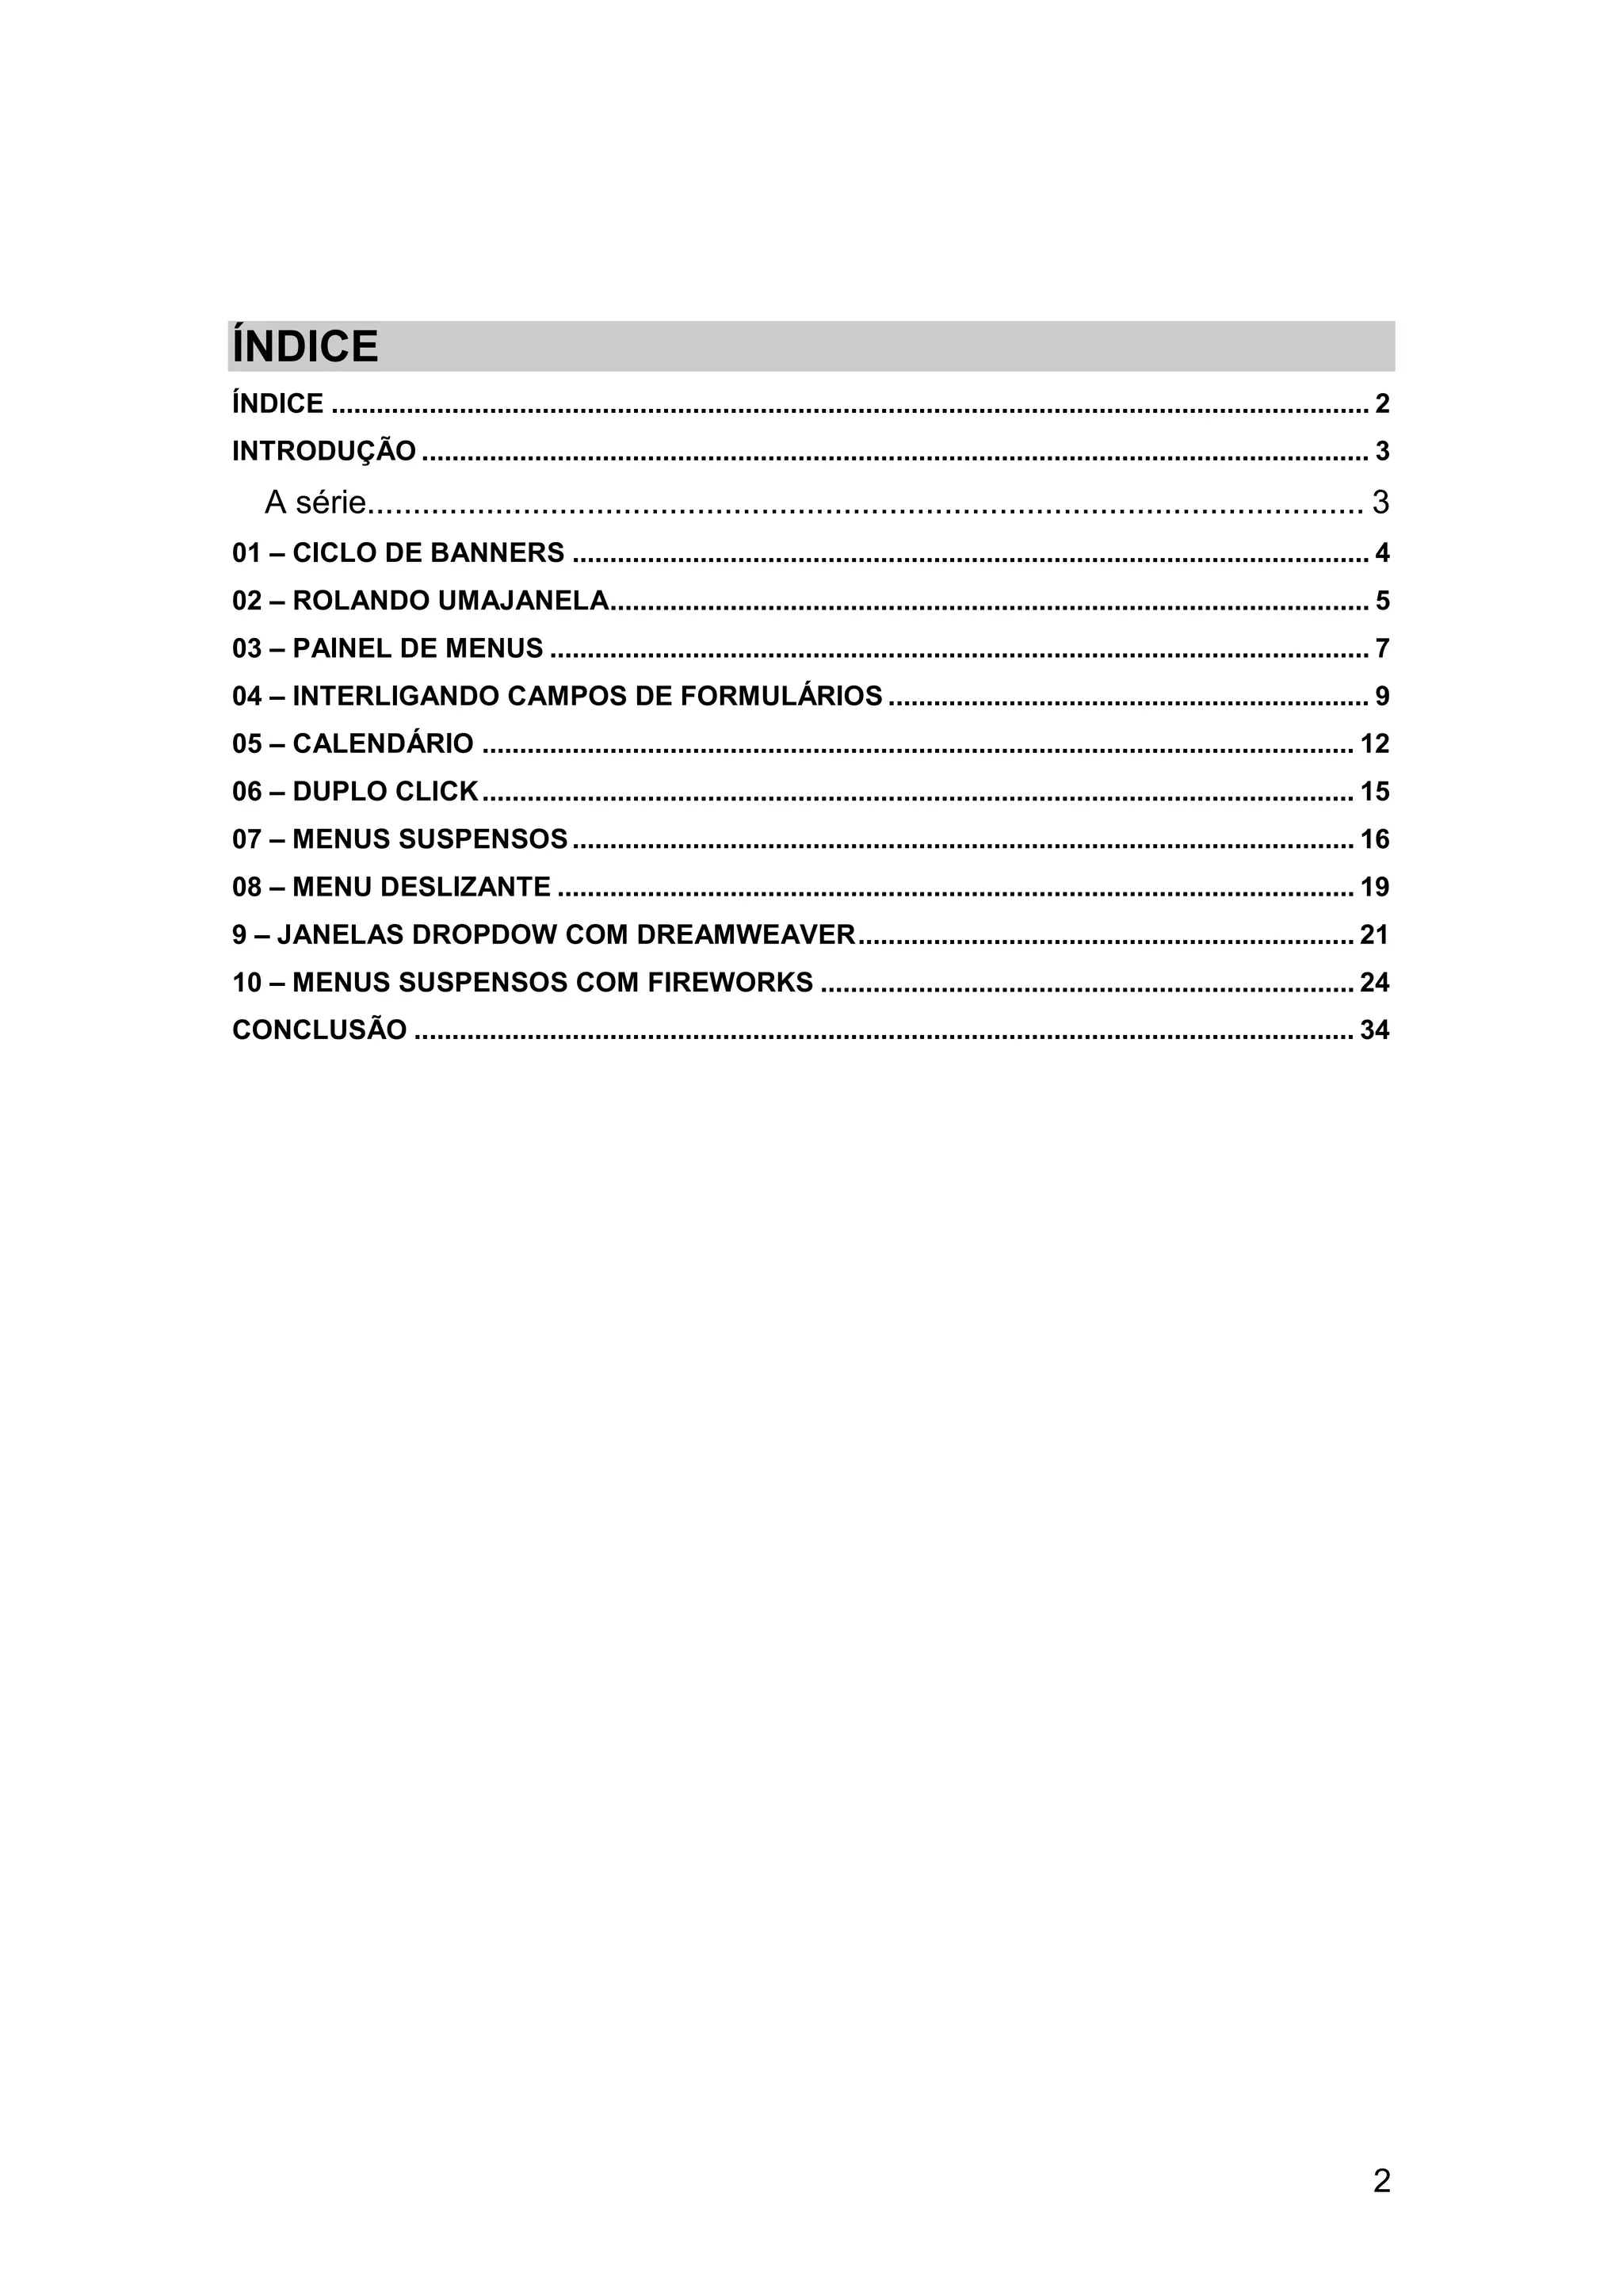
Ao abrir uma nova janela podemos definir que a mesma role até uma
determinada área. Vamos montar o script.
Primeiro crie o arquivo conteudo.html
5](https://image.slidesharecdn.com/javascripttruquesmagicos-120608160438-phpapp02/75/Javascript-truquesmagicos-5-2048.jpg)
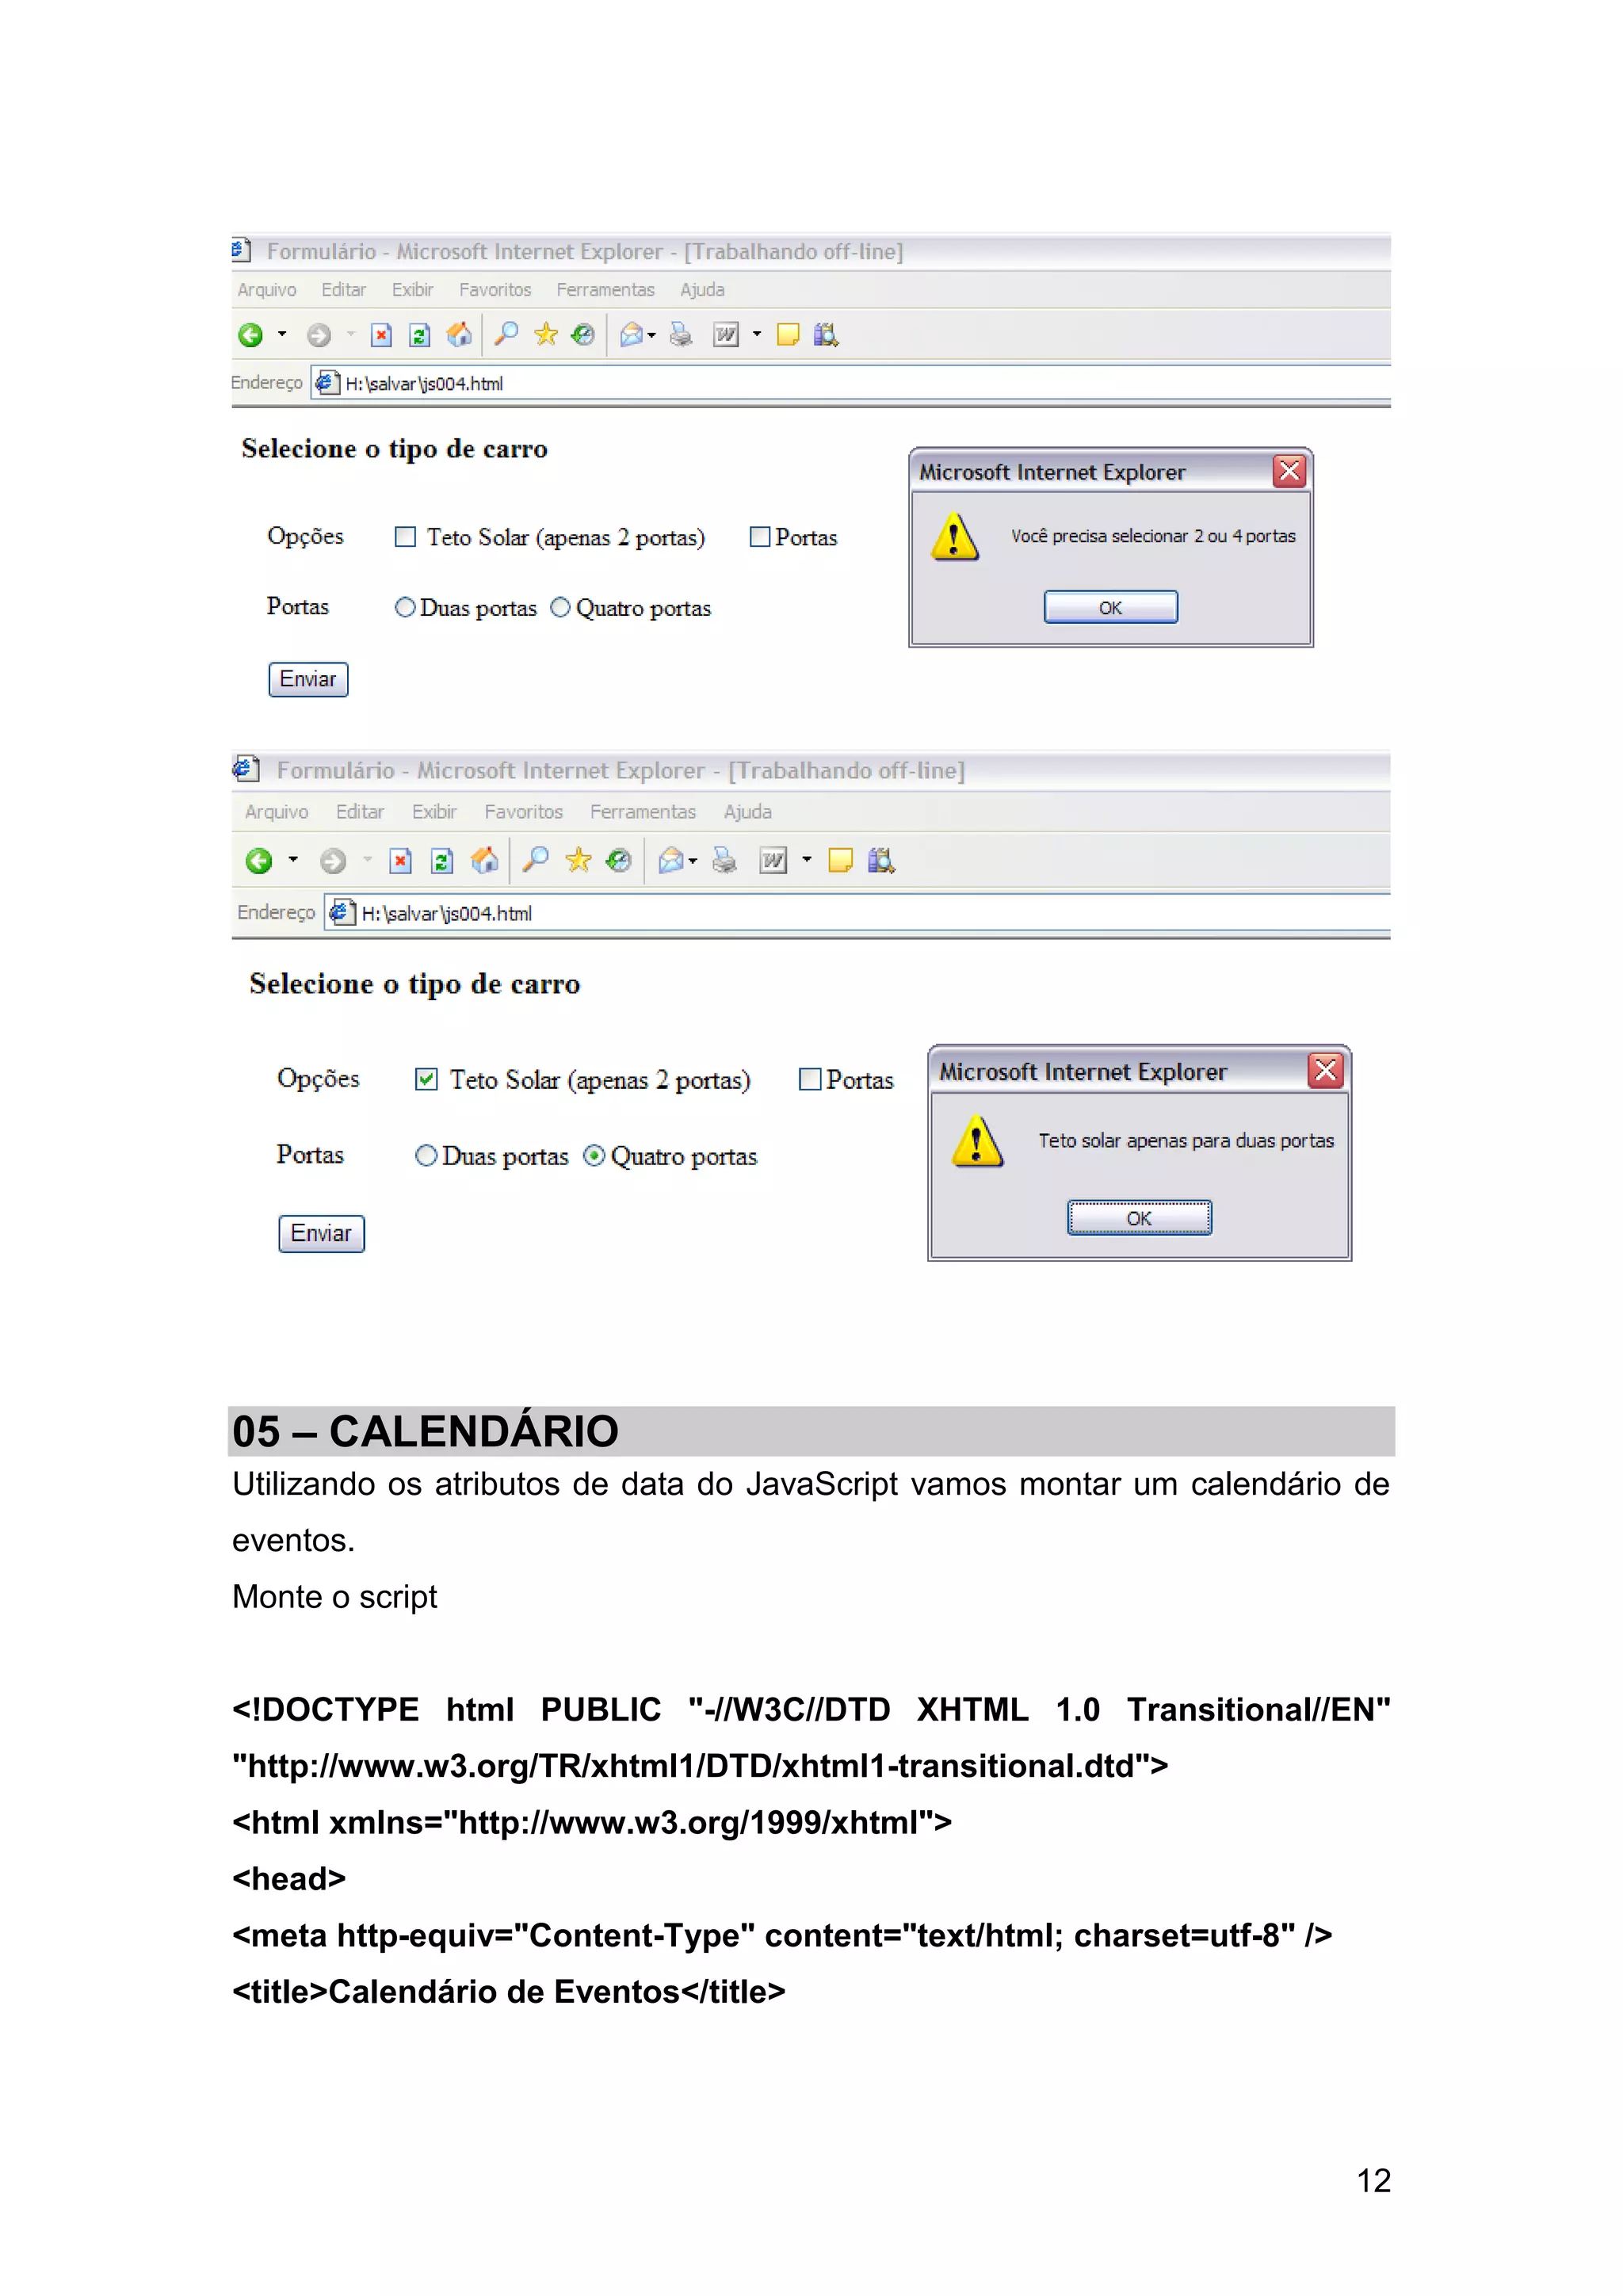
![<script language="javascript" type="text/javascript">
function submitIt(carForm){
doorOption = -1
for (i=0; i<carForm.DoorCt.length;i++){
if(carForm.DoorCt[i].checked){
doorOption= i
}
}
if(doorOption == -1){
alert("Você precisa selecionar 2 ou 4 portas")
return false
}
if(carForm.DoorCt[doorOption].value=="fourDoor" &&
carForm.sunroof.checked){
alert("Teto solar apenas para duas portas")
return false
}
return false
}
function doorSet(sunroofField){
if(sunroofField.checked){
for (i=0; i<document.myForm.DoorCt.length;i++){
if
(document.myForm.DoorCt[i].value=="twoDoor"){
document.myForm.DoorCt[i].checked=true
}
}
}
}
</script>
10](https://image.slidesharecdn.com/javascripttruquesmagicos-120608160438-phpapp02/75/Javascript-truquesmagicos-10-2048.jpg)
![<script language="javascript" type="application/javascript">
dayInfo = new Array
dayInfo[3] = "Inicio das atividades"
dayInfo[8] = "Circuito das águas"
dayInfo[17] = "Corrida rustica"
dayInfo[22] = "Caminhada"
dayInfo[30] = "Passeio infantil"
function showInfo(thisDay){
document.calendar.dateInfo.value=dayInfo[thisDay]
}
</script>
</head>
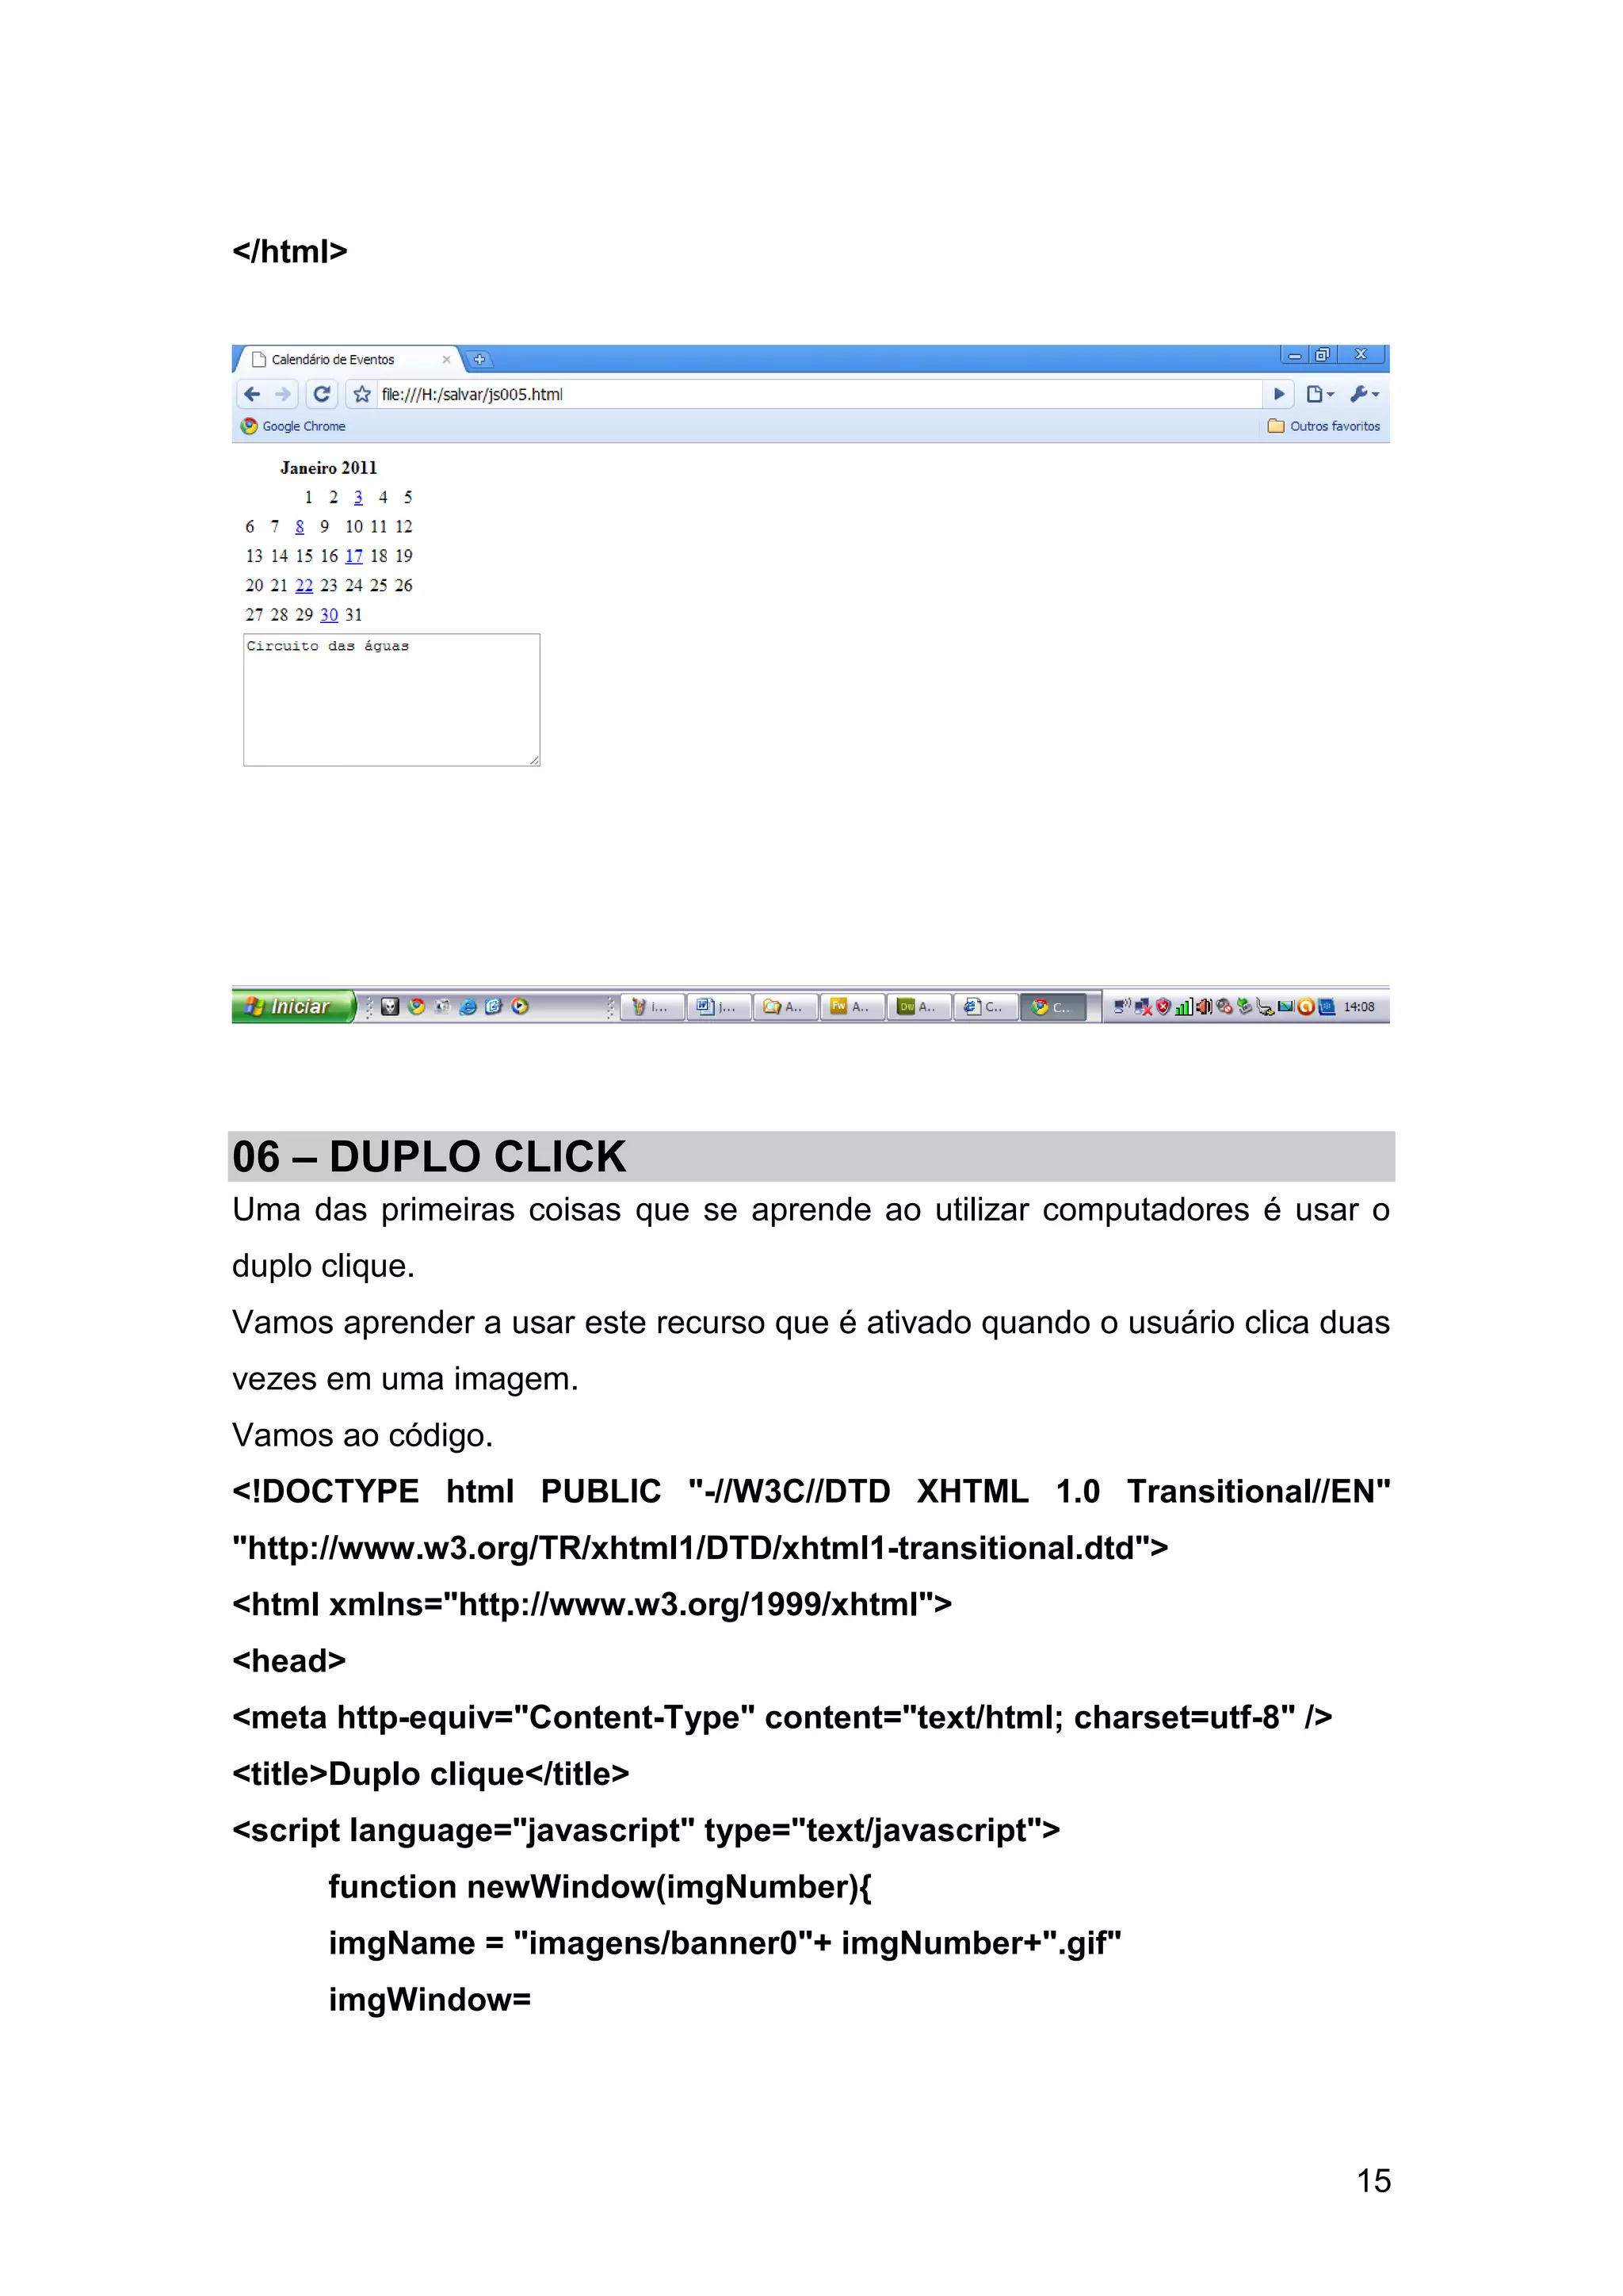
<body>
<table cellpadding="2" cellspacing="2">
<tr>
<th colspan="7">Janeiro 2011</th>
<td rowspan="6"> </td>
</tr>
<tr align="right">
<td colspan="3">1</td>
<td>2</td>
<td><a href="javascript:showInfo(3)">3</a></td>
<td>4</td>
<td>5</td>
</tr><tr>
<td>6</td>
<td >7</td>
<td><a href="javascript:showInfo(8)">8</a></td>
<td >9</td>
<td>10</td>
13](https://image.slidesharecdn.com/javascripttruquesmagicos-120608160438-phpapp02/75/Javascript-truquesmagicos-13-2048.jpg)