Baixar para ler offline


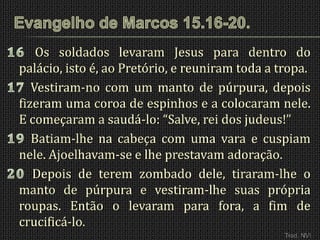


O documento descreve o momento em que soldados levam Jesus ao pretório, zombando dele ao vestir um manto de púrpura e fazer uma coroa de espinhos. Eles o saudam como 'rei dos judeus', agridem-no e o humilham antes de levá-lo para ser crucificado. Essa passagem reflete o desprezo e a violência enfrentados por Jesus antes da crucificação.


