

Recomendados
Mais conteúdo relacionado
Mais procurados
Mais procurados (20)
Semelhante a Forced perspective
Semelhante a Forced perspective (20)
Mais de Brooke Nelson
Mais de Brooke Nelson (20)
Último
Último (20)
Forced perspective
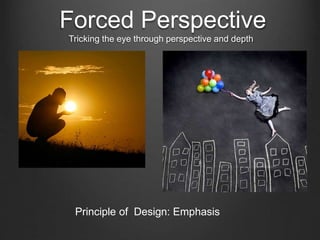
- 1. Forced Perspective Tricking the eye through perspective and depth Principle of Design: Emphasis
- 2. Photographic ILLUSION generally used to make two or more objects seem to be a different size than their actual #1 What is FORCED PERSPECTIVE?
- 3. #2. Forced Perspective generally falls into a few main categories. Making a main subject larger Making a main subject smaller Merging subjects Bending gravity
- 4. #2 - DISTANCE Using DISTANCE as a way of creating a different size is a simple method of generating a forced perspective.
- 8. DISTANCE: Making objects seem smaller
- 11. Environment
- 12. ANGLE
- 13. Merging subjects
- 14. Humor is also an option! -Making object seem larger
- 15. Using Objects to create illusion
- 16. Defying Gravity!
- 17. Using Lights and Surroundings
- 19. #2: Emphasis Principle of Design Arrangement of opposite elements to create visual interest and drama. 1. light vs. dark colors 2. rough vs. smooth textures, 3. large vs. small shapes
- 20. The IDEA makes it UNIQUE
- 24. Due Dates • Prop (object) for warm up due • 5 ideas for your project - Forced Perspective showing emphasis • Critique of best of warm ups • Select best warm up - upload to your website • 5 different photos due • Select and edit final composition • Final photo due
- 25. Forced Perspective: Bending Reality & Emphasis a. Make something seem smaller or larger b. Defy gravity c. Merging objects
- 26. SMALLER/LARGER
- 27. DEFY GRAVITY! I brought chalk!!
- 28. Merging Objects
- 29. Planning Part I– Individual - In Class Today: 10 minutes 1. First, do an image search of forced perspective and find 5 examples that you find appealing visually and/or conceptually. Remember to look for the 3 different types you will be practicing. 2. Save photos on your desktop in a folder labeled “Forced Perspective”. Planning Part II – Group Brainstorming: 15 minutes 1. With your small group, brain storm at least 1 idea for the 3 styles above of forced perspective. However, each person in the group must take 1 photo. If you have 5 members, you will have 5 photos (1 from each member). You may have 3 that defy gravity and 1 that merges object and 1 that makes object appear smaller – making 5 total for the group. 2. Use graphic organizer for your groups ideas.