4. If there is glue on the surface of the wallpaper, simply wipe off with a damp sponge. When mostly dry, trim excess wallpaper along edges using a razor blade.
5. Glue plastic wall trim pieces together at corners to create your frame. Check to make sure each corner creates a right angle. Hold together with packing tape until completely dry.
6. Glue your new frame to the front of wallpapered panel and let dry completely. Once dry, tape around inside edge being careful to cover the wallpaper but none of the frame. Paint the frame using standard wall paint – you will likely need two coats.
7. Inspect the inside edges carefully for any needed touch-ups before removing tape. If you notice dried paint on the wallpaper after removing tape, very gently scrape it off with the side of a razor blade.
8. Screw picture hanging brackets onto the backside – be sure to check the depth of the screws against the depth of your artwork. We used three brackets for this project.
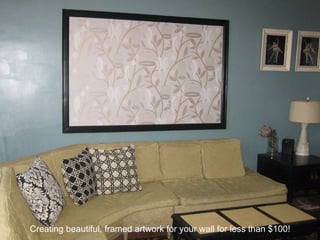
9. Simply hang on wall with screws. You will find your new artwork is surprisingly lightweight for its size! www.vintageliving.wordpress.com
![Materials Needed: ,[object Object],[object Object],[object Object],[object Object],[object Object],[object Object],[object Object],[object Object],[object Object],[object Object],[object Object],[object Object],[object Object]](data:image/gif;base64,R0lGODlhAQABAIAAAAAAAP///yH5BAEAAAAALAAAAAABAAEAAAIBRAA7)