
Recomendados
Mais conteúdo relacionado
Mais procurados
Mais procurados (10)
Destaque
Destaque (19)
Semelhante a Project onesample
Semelhante a Project onesample (20)
Mais de tcassa
Último
Último (20)
Project onesample
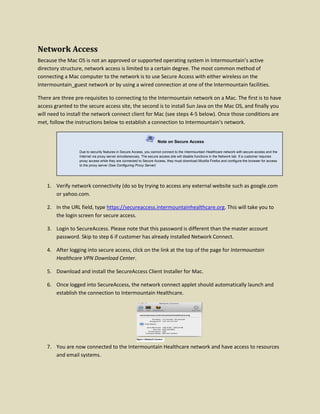
- 1. Network Access Because the Mac OS is not an approved or supported operating system in Intermountain’s active directory structure, network access is limited to a certain degree. The most common method of connecting a Mac computer to the network is to use Secure Access with either wireless on the Intermountain_guest network or by using a wired connection at one of the Intermountain facilities. There are three pre-requisites to connecting to the Intermountain network on a Mac. The first is to have access granted to the secure access site, the second is to install Sun Java on the Mac OS, and finally you will need to install the network connect client for Mac (see steps 4-5 below). Once those conditions are met, follow the instructions below to establish a connection to Intermountain’s network. Note on Secure Access Due to security features in Secure Access, you cannot connect to the Intermountain Healthcare network with secure access and the Internet via proxy server simultaneously. The secure access site will disable functions in the Network tab. If a customer requires proxy access while they are connected to Secure Access, they must download Mozilla Firefox and configure the browser for access to the proxy server (See Configuring Proxy Server) 1. Verify network connectivity (do so by trying to access any external website such as google.com or yahoo.com. 2. In the URL field, type https://secureaccess.intermountainhealthcare.org. This will take you to the login screen for secure access. 3. Login to SecureAccess. Please note that this password is different than the master account password. Skip to step 6 if customer has already installed Network Connect. 4. After logging into secure access, click on the link at the top of the page for Intermountain Healthcare VPN Download Center. 5. Download and install the SecureAccess Client Installer for Mac. 6. Once logged into SecureAccess, the network connect applet should automatically launch and establish the connection to Intermountain Healthcare. Figure 1:Network Connect 7. You are now connected to the Intermountain Healthcare network and have access to resources and email systems.
- 2. Installing a printer Because the Mac OS is not part of the Active Directory, printers must be added via IP Printing. The first thing to do is find the printer the customer would like to connect to and take note of the Printer name, model, and IP information. Once this information is obtained, follow the instructions below to add a printer. In order to print to a network printer, the customer will either need to be connected to the Intermountain network via a wired connection or logged into SecureAccess. 1. Click on the in the upper left hand corner and select System Preferences. 2. Under the Hardware section, select Print & Scan. 3. To add a printer to the list, click on the + button at the bottom of the list and select Add Other Printer or Scanner… 4. On the Add printer window, select IP icon. Figure 2 5. Set the Protocol to HP Jetdirect – Socket. 6. Set the Address field to the IP Address of the printer (every printer should have a label with the IP address). 7. Set the Name field to the printer name from the label on the front of the printer. 8. The model type should automatically populate. 9. Click on the Add button. Figure 3 10. The printer should now show up on the Printers list and available for printing.
- 3. Configure Proxy settings If you are using a Mac on the wired network, you can configure use of the proxy in order to gain access to the internet. The main difference between Mac OS X and the windows environment is that, on a Mac, the proxy settings are a function of the Network applet and not the actual browser. This setting is used only on the Safari browser. If the customer is using Chrome or Firefox, the proxy configurations are made inside the browser settings. Listed below are the instructions for configuring the Proxy Settings on a Mac. 1. Click on the in the upper left corner of the File menu and select System Preferences. 2. Under the Internet & Wireless section, Click on the Network icon. 3. Select the network connection being used (i.e. Wi-Fi, Ethernet, etc) and click on the Advanced… button at the bottom right of the Network window. 4. Click on the Proxies tab at the top of the Network connection window. 5. Put a check in the Automatic Proxy Configuration. 6. In the URL field, type the name of the .pac file being used. For Intermountain Healthcare, the name of the proxy server is http://proxy.ihc.com/proxy.pac 7. Mac OS X is now configured to use the proxy server for internet access. Please note that this setting does not carry over to third-party internet browsers such as Chrome and Firefox; they will need to be configured inside the browser.