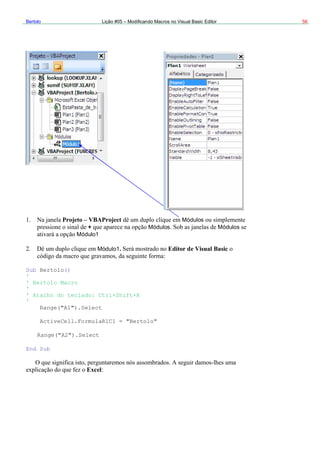
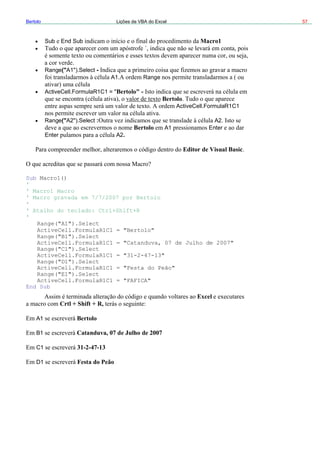
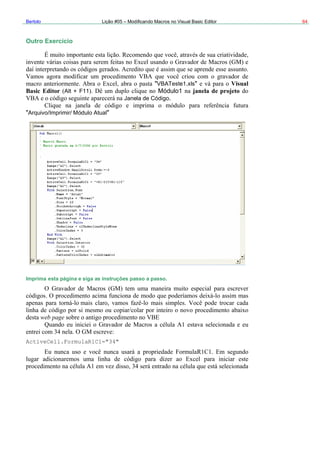
1) O documento fornece instruções sobre como modificar macros no Visual Basic Editor do Excel, incluindo como alterar o código existente e adicionar novas funcionalidades às macros.
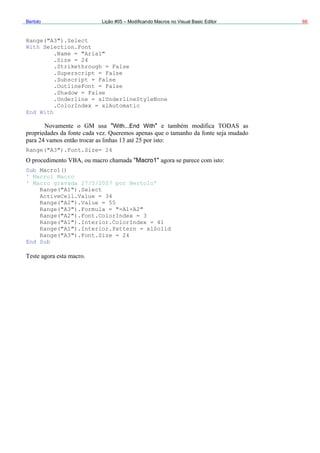
2) São apresentados exemplos de código VBA para realizar tarefas como formatar células, inserir bordas, alterar configurações de página e mais.
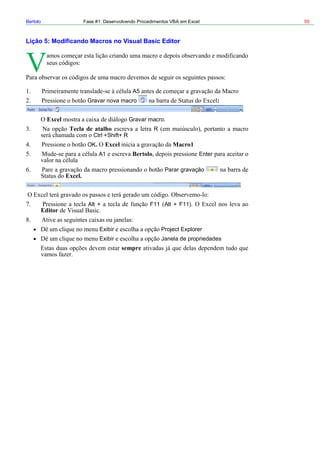
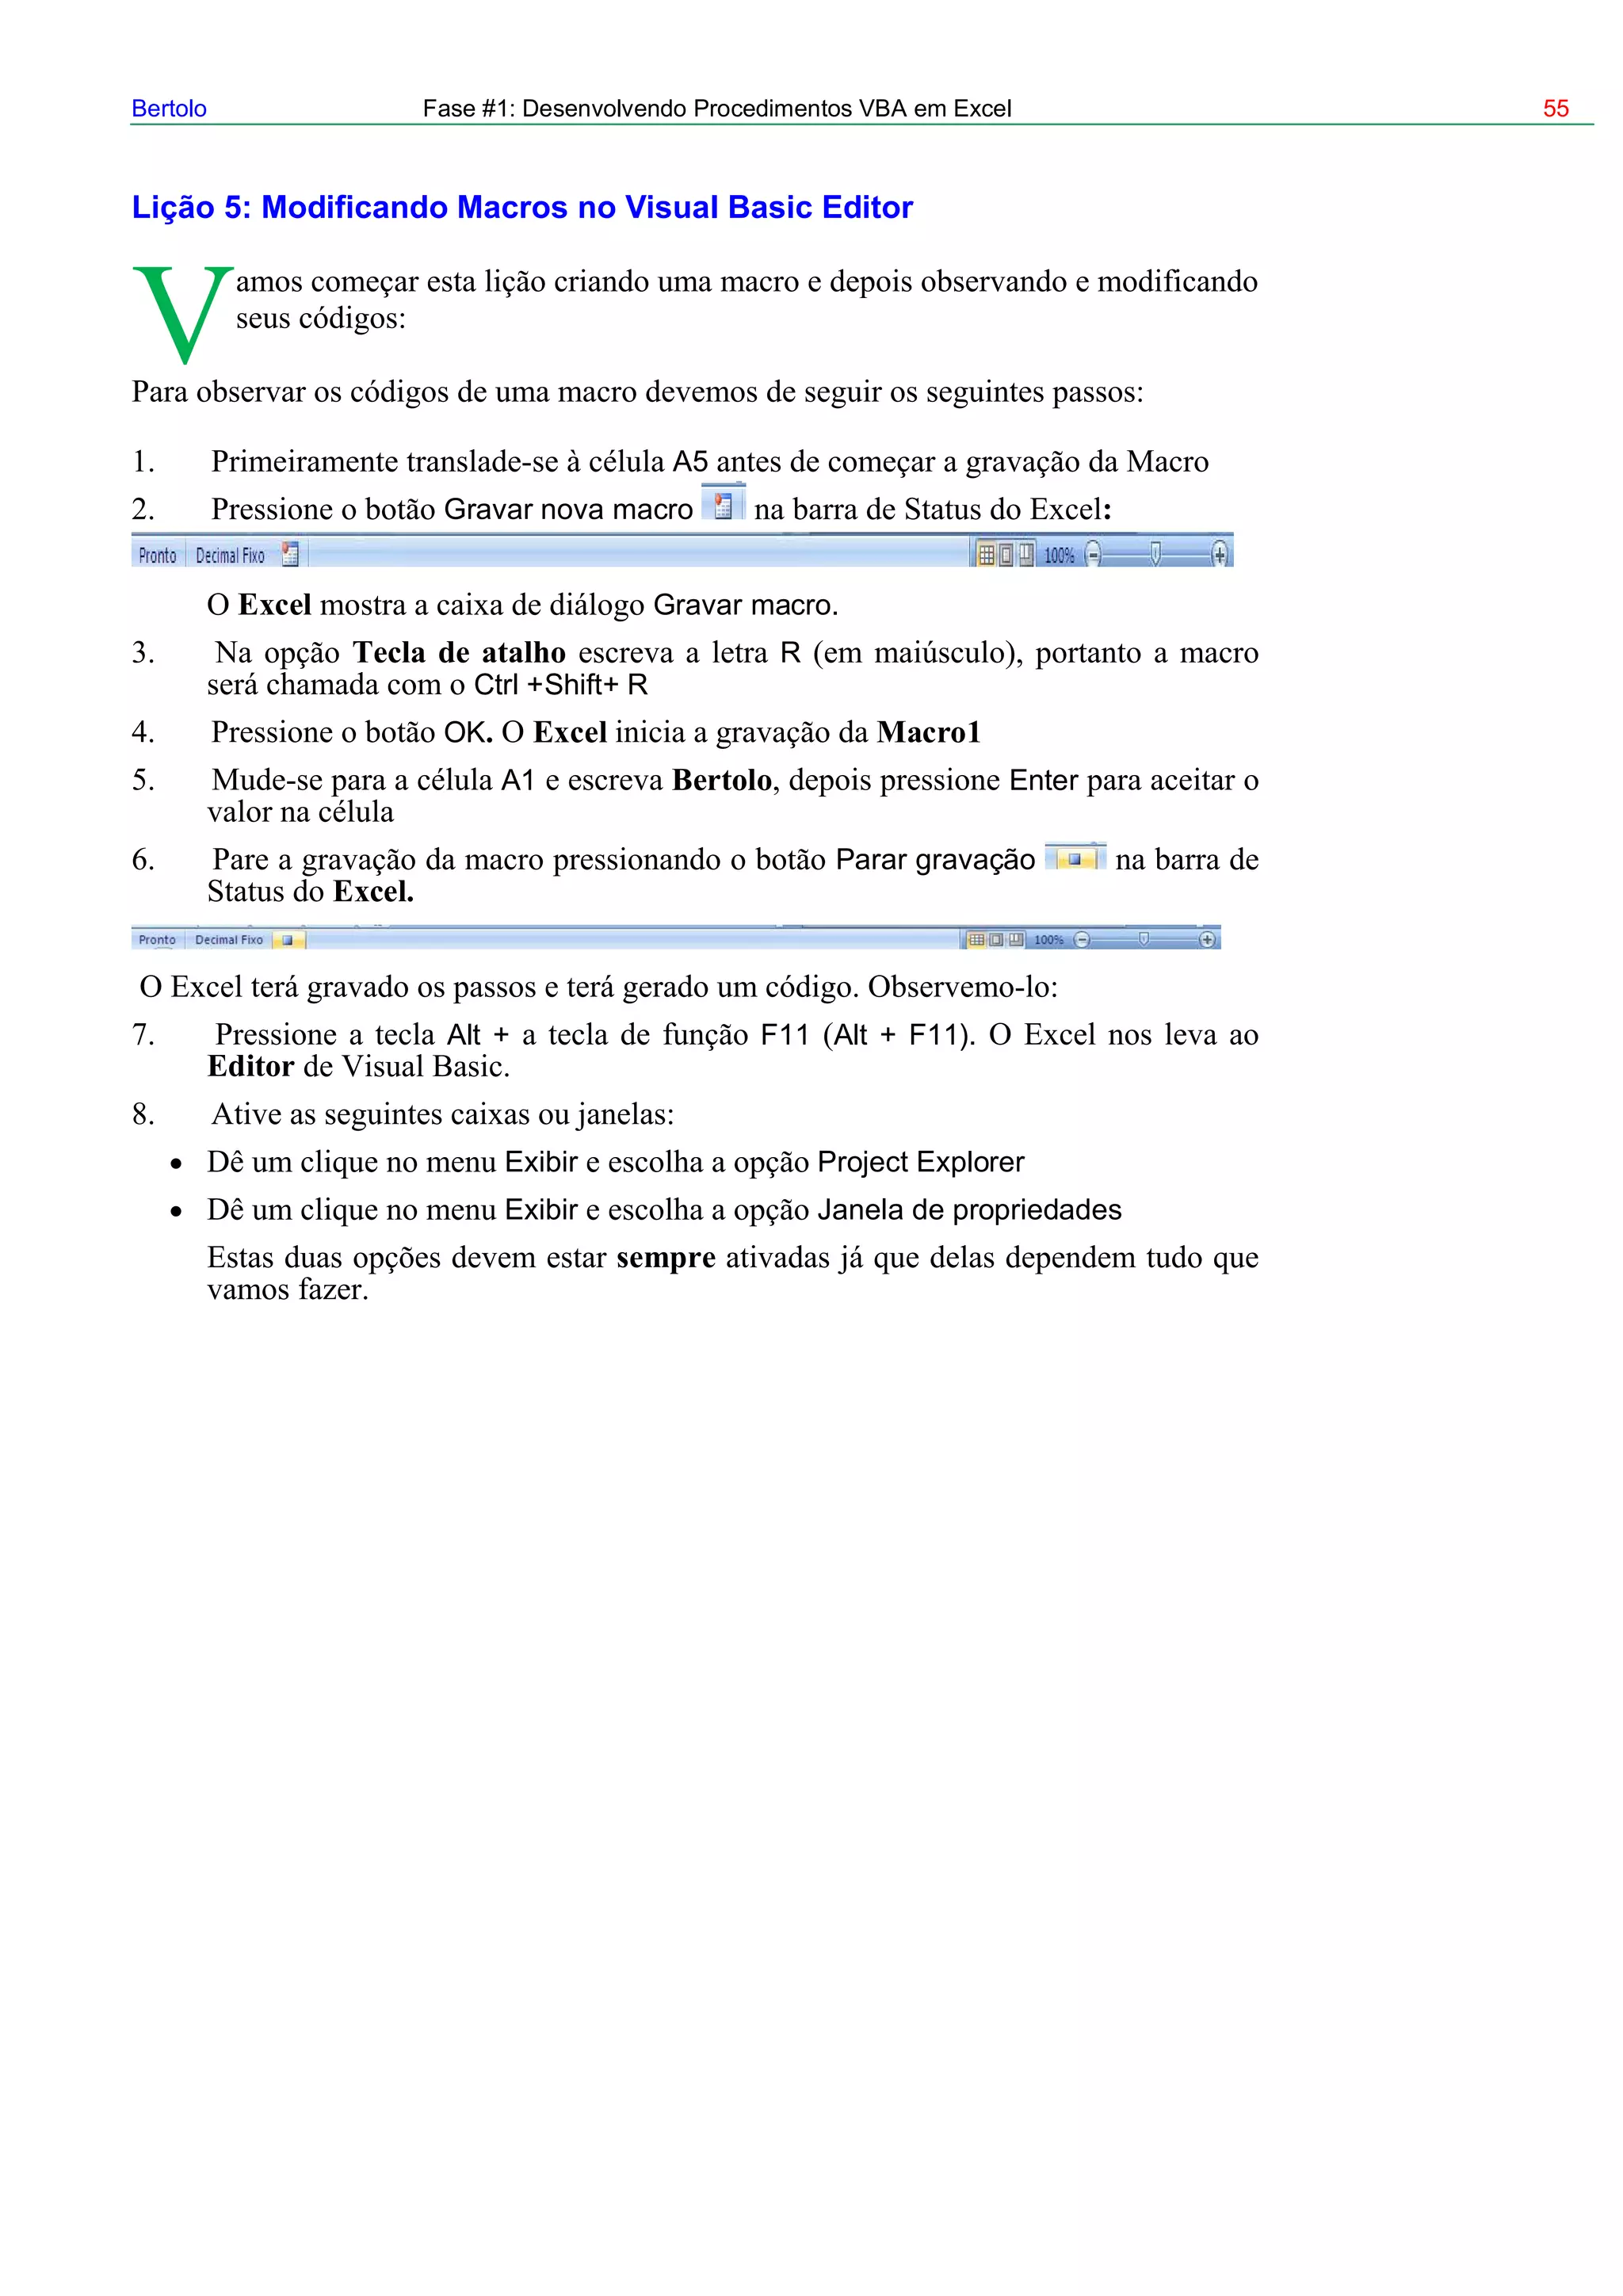
3) O leitor é orientado a seguir as instruções e exercícios passo a passo para praticar a modificação e geração de novas macros no Visual Basic Editor.


![Bertolo Lições de VBA do Excel 65
ActiveCell
Act
Ran
Ran
nge
Seleção)
ColorIndex 41 Pattern xlSolid.
nge("A1").Interio
nge("A1").Interior.Pattern = xlSolid
Range("A1").Select
iveCell.Value=34
Range("A2").Select
ActiveCell.FormulaR1C1 = "55"
ge("A2").Value=55
ge("A3").Select
ActiveCell.FormulaR1C1 = "=R[-2]C+R[-1]C"
Range("A3").Formula="=A1+A2"
Ra ("A2").Select
Selection.Font.ColorIndex = 3
Range("A2").Font.ColorIndex = 3
Range("A1").Select
With Selection.Interior
.ColorIndex = 41
.Pattern = xlSolid
End With
"With..End With"
A1 ( A1
Selection.Interior
Ra
Ra
r.ColorIndex = 41
:](https://image.slidesharecdn.com/5-modificandomacrosvbe-170221204554/85/5-modificando-macros-vbe-11-320.jpg)