What's New in Teams Calling, Meetings and Devices April 2024
Creating the cedits using adobe flash
1. Creating the cedits using Adobe flash
To create the credits for the opening of our 2 minute movie, we used Adobe flash. We
wanted the credits to look like an ECG montior to show the audience that the movie was set
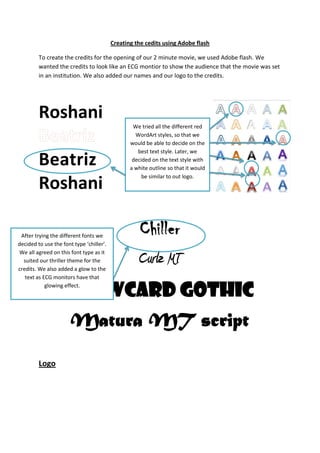
in an institution. We also added our names and our logo to the credits.
Roshani
We tried all the different red
WordArt styles, so that we
would be able to decide on the
best text style. Later, we
Beatriz decided on the text style with
a white outline so that it would
be similar to out logo.
Roshani
After trying the different fonts we
Chiller
decided to use the font type ‘chiller’.
We all agreed on this font type as it
suited our thriller theme for the
credits. We also added a glow to the
Curlz MT
text as ECG monitors have that
Showcard gothic
glowing effect.
Matura MT script
Logo
2. Click on the image and then
right click on convert to
symbol. The image will then
be allowed to have some
animation added to it after
the name has been inserted.
The image which was
converted into symbol must
then be dragged onto the
stage.
To add some animation to this image, we made the image as small as possible
and then every time we enlarged the image we inserted a new Keyframe.
Then we clicked in-between
each of the Keyframes and
added a ‘Classic Tween’. This is
how the logo was animated
starting from a small image to a
larger one.
3. Creating blank ECG effect
This is the timeline for each
different section of the credits I
inserted a new layer so that I
would be easier for the editing to
take place. These
Keyframescontrol the length in
which the image stays on the
stage for. We inserted a different
key frame each time we added a
bit of the line on the stage to
create the line you see on an ECG
monitor.
This image shows the timeline of the keyframes
before we added the fading to the image.We
roughly calculated for how long we would keep the
fading on for.
Then we clicked on the image (making sure that we had
clicked on the right keyframe first-nearest to the
beginning) and then selected ‘graphic’, so that the
fading would be able to take place.
4. The next step was to select which style was needed which
was ‘Alpha’. This then gave us the option to change the
colour effect percentage. We changed the percentage to
0%, so that the image will fade, going from bright to
darker.
We then right clicked in-
between the keyframes and
selected ‘create classic
tween’. This then made the
image fade away slowly.
This is what the timeline looks
like once the classic tween had
been created.
We then copied and pasted the same ECG effect after each name came up. This would then
give more of an ECG monitor effect to the credits.
To create the following steps in the sequence, we used the same step which was explained
above.