
Recomendados
Mais conteúdo relacionado
Mais procurados
Mais procurados (20)
Destaque
Destaque (13)
Semelhante a About istopmotionanimation
Semelhante a About istopmotionanimation (20)
Mais de cigdemkalem
Mais de cigdemkalem (20)
Último
Último (20)
About istopmotionanimation
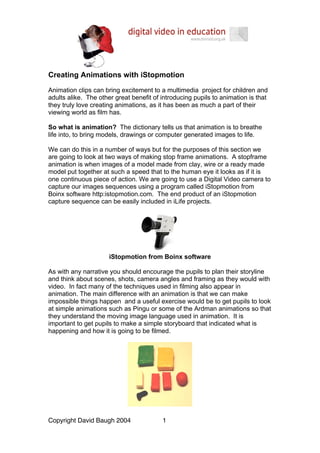
- 1. Creating Animations with iStopmotion Animation clips can bring excitement to a multimedia project for children and adults alike. The other great benefit of introducing pupils to animation is that they truly love creating animations, as it has been as much a part of their viewing world as film has. So what is animation? The dictionary tells us that animation is to breathe life into, to bring models, drawings or computer generated images to life. We can do this in a number of ways but for the purposes of this section we are going to look at two ways of making stop frame animations. A stopframe animation is when images of a model made from clay, wire or a ready made model put together at such a speed that to the human eye it looks as if it is one continuous piece of action. We are going to use a Digital Video camera to capture our images sequences using a program called iStopmotion from Boinx software http:istopmotion.com. The end product of an iStopmotion capture sequence can be easily included in iLife projects. iStopmotion from Boinx software As with any narrative you should encourage the pupils to plan their storyline and think about scenes, shots, camera angles and framing as they would with video. In fact many of the techniques used in filming also appear in animation. The main difference with an animation is that we can make impossible things happen and a useful exercise would be to get pupils to look at simple animations such as Pingu or some of the Ardman animations so that they understand the moving image language used in animation. It is important to get pupils to make a simple storyboard that indicated what is happening and how it is going to be filmed. Copyright David Baugh 2004 1
- 2. The next stage is to create some sort of scenery or back ground for the animation. And decide on the type of models to be used: clay, plasticene, Lego models or action figures. For young children soft colours modelling clay is probably the best option, which is available from most education art suppliers. To begin with using plain backgrounds for animations works well. Now it is time to start making the models which should be as simple as possible with one or two obvious large features that can easily be manipulated on the models during the sequence. If you look at the types of characters in professional animations you will notice that they usually have large eyes and mouths. Lighting is crucial for good effect and natural light is always going to be the best. Failing this, lamps with natural light bulbs would make do. It is important to remember to try and use a tripod whilst capturing a sequence. A tabletop tripod works very well for animation. An additional thing to check before capture is that the camera is plugged into the mains and the DV tape is Copyright David Baugh 2004 2
- 3. removed. This will stop the camera from going to sleep during the capture. If your camera has a Demo mode it would also be advisable turn this off. You may also want to set the camera to manual focus. As an alternative to using a DV camera it is possible to use an Apple iSight camera. If you are using a laptop the iSight camera can be perched on the laptop lid which will keep the camera steady. When the camera is connected to the Mac with a FireWire lead and iStopmotion is started up you will be presented with a dialogue box asking you what size movie you want as an end product. Copyright David Baugh 2004 3
- 4. Choose the PAL 720 X 576 setting for our purposes however if you want to use the movie in North America or Japan choose the NTSC setting. For animation you should set the frames per second (FPS) to 12. If all things are working you will see the set and model in the iStopmotion window. To make life easier turn the onion skinning on as this will enable you to see the previously captured frames as shadows in the window. Onion skin in Options draw Options draw button Copyright David Baugh 2004 4
- 5. To capture a frame you should click on the obvious red record button below the viewer or by pressing the space bar. You can alter this default by going to the iStopmotion menu and preferences. Here it is also possible to set up iStopmotion to use the Mac’s Speech recognition software to capture frames. This is useful if you don’t want to keep going backwards and forwards from the model and the computer. However in a classroom its use will be very limited. You can use the timeline in iStopmotion to go back to frames you have captured and to edit these frames such as copy and paste. When you have captured a sequence of frames for a scene of your animation you should save it using the normal File and Save. You can also play the sequence through to see how it looks. There is also the option of seeing your movie in presentation mode, which will show the movie full screen on a black background. Copyright David Baugh 2004 5
- 6. If you want to use the scene in iMovie the sequence should be exported to Dv format. Go to File and Export to DV. In the next dialogue box choose the format you need for your project. Copyright David Baugh 2004 6
- 7. These exported files can be imported into iMovie by using file and Import or by dragging movie clips onto the Shelf. Here the clips can be edited together and audio added. Copyright David Baugh 2004 7