Dig imag unit 3 module 3 incorporating color techniques
Dig imag unit 9 module 3 converting paths and selections
1. Digital Imaging
Unit 9: Using Paths & Shapes
Module 3: Converting Paths and Selections
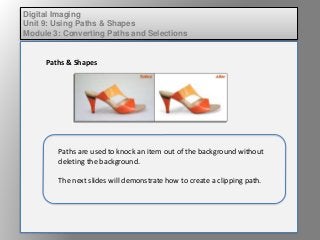
Paths & Shapes
Paths are used to knock an item out of the background without
deleting the background.
The next slides will demonstrate how to create a clipping path.
2. Digital Imaging
Unit 9: Using Paths & Shapes
Module 3: Converting Paths and Selections
Paths & Shapes
Trace around an image using the pen tool.
3. Digital Imaging
Unit 9: Using Paths & Shapes
Module 3: Converting Paths and Selections
Paths & Shapes
In the Paths palette, save the path.
4. Digital Imaging
Unit 9: Using Paths & Shapes
Module 3: Converting Paths and Selections
Paths & Shapes
In the Paths palette, select Clipping Path. In the dialogue box
that pops up, choose the path you just created.
5. Digital Imaging
Unit 9: Using Paths & Shapes
Module 3: Converting Paths and Selections
Paths & Shapes
When placed into a layout file, the image with the clipping path
will not show the background, but the background is still there if
you later need it.