
Recommended
More Related Content
What's hot
Viewers also liked
Viewers also liked (17)
Similar to Odi installation step by step
Similar to Odi installation step by step (20)
Recently uploaded
Recently uploaded (20)
Odi installation step by step
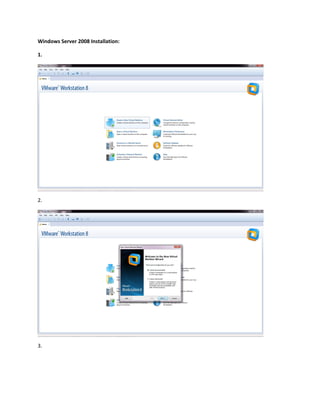
- 1. Windows Server 2008 Installation: 1. 2. 3.
- 2. 4. 5.
- 3. Installing Oracle 11G Database: 1. Download Oracle 11g, an ececute the the setup.exe file: 2. Configure security Updates (optional) then Press Next:
- 4. 3. Select Installation Options, here we are selecting Create and Configure database as follows: 4. Select the System Class, here we choose Desktop Class:
- 5. 5. Typical Installatin Configuration settings, here provide admin password as "oracle1" and press YES is asked in pop-up: 6. Press Finish in the Summary Screen:
- 6. 7. Installation progress will start as follows: 8.
- 7. 9. Press OK: 10. Press Close:
- 8. 11. COngratulations!! Oracle 11g has been installed successfuly. to check goto Start ->All Programs -> Oracle 11g_home1-->SQL Developer and test it. Installing RCU: 1. Run RCU setup: Run $RCU_HOME/bin/rcu.bat, installation screen will appear here Click Next :
- 9. 2. Select "Create repository" option and press "Next" : 3. Database Connection Details: Service name = orcl user = sys
- 10. password = password 3. Make sure the DB is up and running (on windows run $DB_HOMEapporacleproduct10.2.0serverBINStartDB.bat). Enter the Database details and press ‘Next’:
- 11. When running the Oracle DB you will receive the following Warning (Press ‘Ignore’): 4. Verify all checks completed successfully and press ‘OK’: 5. Choose the required components. Put the chosen Prefix name according to your environment (DEV/PROD)
- 12. For Oracle SOA Suite 11g installation , choose the ‘SOA and BPM Infrastructure’. Verify that when choosing the SOA checkbox, the ‘Metadata Services’ checkbox under ‘AS Common Schemas’ is being choosen as well: If you are running RCU with other user then sys/system, make sure you granted the following privileges to that user before creating the schemas: GRANT ALL ON dbms_aqadm TO new_user WITH GRANT OPTION; GRANT ALL ON dbms_aq TO new_user WITH GRANT OPTION; GRANT aq_user_role TO new_user; GRANT EXECUTE ON dbms_aqin to new_user WITH GRANT OPTION; GRANT EXECUTE ON dbms_aqjms to new_user WITH GRANT OPTION; 6. Verify all checks completed successfully and press ‘OK’:
- 13. 7. Enter the password for the new created schems. You can choose to use the same password for all schemas or different password for each schema (Remember the schema names and password is "password"). Press ‘Next’: 8. Leave the default parameters OR change it according to your requirement. Press ‘Next’:
- 14. 9. Click OK:
- 15. 10. Verify all checks completed successfully and press ‘OK’: 11. Press ‘Create’:
- 16. 12. Verify that all components were complete successfully:
- 17. Congratulations, you have successfully created master and work repositories..!!