
Recomendados
Mais conteúdo relacionado
Mais procurados
Mais procurados (19)
Destaque
Destaque (17)
Semelhante a Nearpod Directions
Semelhante a Nearpod Directions (20)
Último
Último (20)
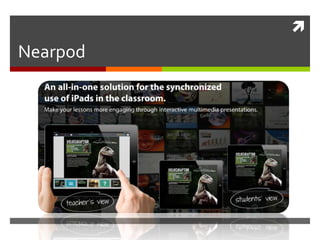
Nearpod Directions
- 1. Nearpod
- 2. Sign up on the iPad Nearpod is on all iPads @ PES You sign up on the iPad To create presentations you must use a computer http://nearpod.com
- 3. Computer Needed to Create Click the content tool to start creating
- 4. My Library & Starting a New Presentation My Library houses all your presentations Click New Presentation Home Share Clone View New Edit Delete Publish Presentation
- 6. Saving a Power Point as a PDF File > Save As > Change format to PDF & Save
- 7. Customizing the NPP Add a title & brief description Click the aqua button to add content 8 options
- 8. Customizing the NPP Rearrange the order of the slides by clicking and dragging them First and last slides must be static images Click done
- 9. Publishing the NPP Newly created NPP will now be in My Library Click on it & an aqua box appears at the bottom Click Publish button Acheckmark appears once the NPP is published It must be published to work on the iPad with students
- 10. Using Nearpod with Students Login as the teacher on the iPad My Library shows your published NPPs Tap the presentation & tap LAUNCH Students will use the PIN provided (upper left corner) Students will type in their names
- 11. Controlling the Presentation Control the presentation by tapping on the slides at the bottom of the iPad Tap the blue SHARE button (upper right corner) to change the students’ screens.
- 12. Reports & the Store On your computer, click the Reports button to obtain a data report for the presentation Report can be saved to your computer On the iPad, access the Nearpod Store for NPPs that are already made! Nearpod is on Pinterest too!
- 13. Tutorials & More Webinars (basics & advanced) Tutorialsavailable on the Nearpod website Vimeo Questions?